Building A PBX Part 1 — PBX Hardware
I’ve always had some sort of fascination with the telephone system. There is something that excites me about large systems in general, whether it has to do with computer networking, telephony, power, or even the postal service. Phone phreaking sort of plays into this fascination—we learn how the phone network works by poking and prodding until something interesting is discovered.
In 2012 or so, I set up by own PBX (or private branch exchange) using an original 256MB Raspberry Pi model B. The system worked great! I was able to take and place calls, hook in my trusty Western Electric phone, and play around with all of the different features I could figure out. Eventually, the system was powered down and put into a bin, mostly forgotten until earlier this year.
A few months ago I decided to resurrect my trusty PBX by completely recreating the original functionality I attained six years ago, with a few other little additions thrown in. I’ve decided to start this series of guides to document what I’ve been able to figure out (and maybe some stuff I haven’t yet). It’s for you as much as it is for me. Some of the configuration I’ve seen can be cryptic, and documentation disappears from the web constantly. It’s good to keep a set of internal documents if the system ever goes poof and need to be rebuilt. As fun as they may be, I aim to avoid those late nights gazing hopelessly at a console for who-knows-how-many hours while I try to derive some logical solution out of an elusive issue.
If you don’t know what a PBX is, it is easily equatable to a networking switch: the little box on your home network with a bunch of ethernet cables clipped into it. Your network devices communicate with one another through the switch, and possibly with other devices over the Internet if the switch is connected up to a router and modem. A PBX operates in a similar matter, with phones (physical or software-based) connecting to one another through it at a local site or to other phones in the telephone network, all over the world.
I wanted to accomplish a few things with my PBX, so I split functionality out into a few different areas:
- Create a PBX using a spare Raspberry Pi. (DONE, see part 1. Wait, you’re already there.)
- Be able to accept incoming calls. (DONE, see part 2)
- Be able to make outgoing calls. (DONE, see part 2)
- Connect a physical, touch-tone phone to the PBX. (DONE, see part 3)
- Connect a physical, rotary phone to the PBX. (DONE, see part 4)
Additionally, I may expand this functionality further. I could hook up some sort of modem, install software on my PC so it can act as a phone, or even run a fax machine (thrilling, I know)!
Being that this is a learning experience, I’m also committed to spending as little money as possible (within reason). With a technology as old as telephony, there are a lot of cheap/used devices out there that can be had in abundance.
So, let’s get started with the PBX setup. Originally, I ran my installation on an older Raspberry Pi model B. It worked great then, but is definitely showing its age as software gets more and more bloated complex. In the world of open-source PBX software, the two big names you will probably hear are FreeSWITCH and Asterisk. People could discuss the pros and cons of each for hours, but for simplicity, I’ve chosen to use Asterisk as my backing system. Asterisk itself is a very old and capable piece of software, but an administrator can only configure it via editing text configuration files. This is a great way to learn the software at a low level, but I prefer to admin the system using FreePBX, a web-based GUI that sits atop Asterisk, for convenience and speed. While you can still run this fairly well on an original Raspberry Pi model B, I’d recommend at least using a Raspberry Pi 2 (like I am) if not something newer. Of course, you will also need a power adapter and a microSD card (16 GB is more than enough)
There are a few distributions that couple Asterisk/FreePBX on the Raspberry Pi, but I will be using the Debian-based Incredible PBX. Installation is easy enough if you have an SD card inserted on an exisiting Linux machine. Just make sure you do fdisk -l to determine the location of your SD card.
$ wget -O incrediblepbx13.13-raspbian8.zip https://downloads.sourceforge.net/project/pbxinaflash/IncrediblePBX13-13%20for%20Raspbian/incrediblepbx13.13-raspbian8.zip?r=https%3A%2F%2Fsourceforge.net%2Fprojects%2Fpbxinaflash%2Ffiles%2FIncrediblePBX13-13%2520for%2520Raspbian%2Fincrediblepbx13.13-raspbian8.zip%2Fdownload&ts=1531600211
$ unzip incrediblepbx13.13-raspbian8.zip
$ sudo dd bs=1m if=incrediblepbx13.13-raspbian8.img of=/dev/disk4
After dd completes, you can pop the SD card into your Raspberry Pi and boot it up.
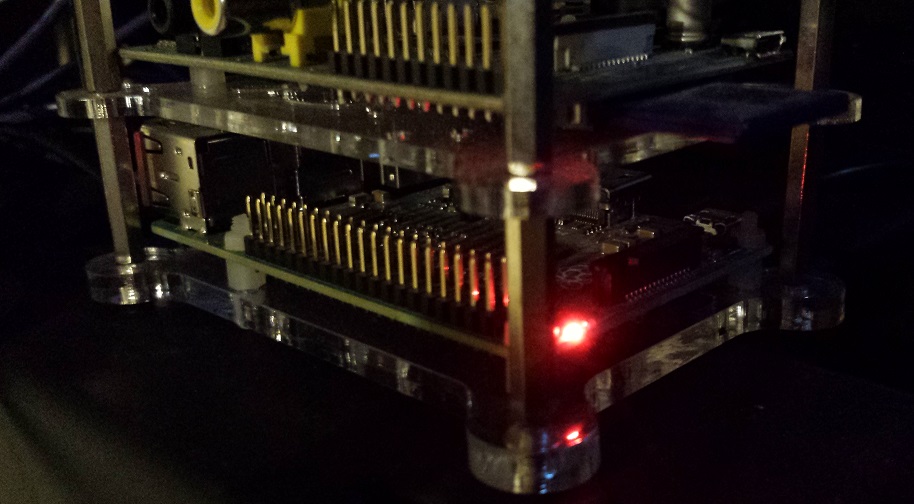
The Raspberry Pi PBX is online!
Check your router or nmap scan your network to find the IP address of the new RPi machine and visit it in a browser. The FreePBX UI should pop up and allow you to login with admin/admin.
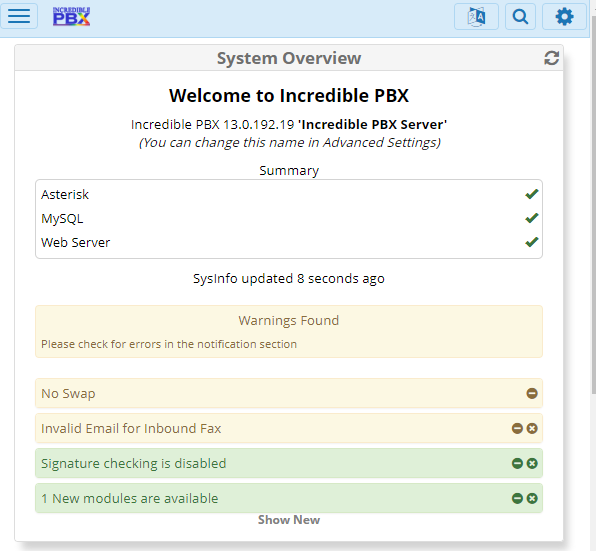
After a successful login, you will be presented with the FreePBX dashboard.