Building A PBX Part 2 — Configuring Incoming & Outgoing Calls
This article is one in a series about building a PBX. If you haven’t already, please check out the first in the series, Building A PBX Part 1 — PBX Hardware.
So now we’re ready to configure our PBX to interact with the global telephone network. This means that anyone in the world can call into our PBX, and we can call out.
Much like needing an ISP to connect a home network to the Internet, we will need a VoIP provider to hook into the telephone network.
There are many VoIP providers out there, but I chose VoIP.ms based on their pricing model. At the time of writing, their most basic plan costs $0.85 USD a month for incoming calls with an additional $0.009 USD per minute, and $0.01 USD per minute for outgoing calls. You can do quite a bit of experimentation with these rates for less than the cost of a cup of coffee. However, you need to note that you can only deposit funds into your account in increments of $25.00, so you will need to invest that much up-front. This initial deposit could last you for years depending on your usage.
After registering an account and depositing funds, log in to the customer portal and go to DID Numbers » Order DID(s) in order to register a DID (Direct Inward Dialing) number. This number is what everyone will eventually call to access our PBX. The process is relatively simple, allowing you to pick an area code, and even do some searching if you want any of the digits to be in a certain order to spell out a word, or anything like that. Of course, you have to pick from a pool of numbers that aren’t already being used.
After we have our DID number, we need to configure our DID Routing by going to Main Menu » Account Settings and clicking the DID Routing tab. From here, we can choose a POP server that is physically close to our PBX (for lower latency) and make sure that the Routing is set to SIP/IAX for our main account. When done, hit the ‘Apply All’ button at the bottom of the page. At this point, we can also take a little time to explore all of the options under account settings. Most options can be left as they are, but some like disabling international calls can safe-guard against mis-configurations and higher bills.
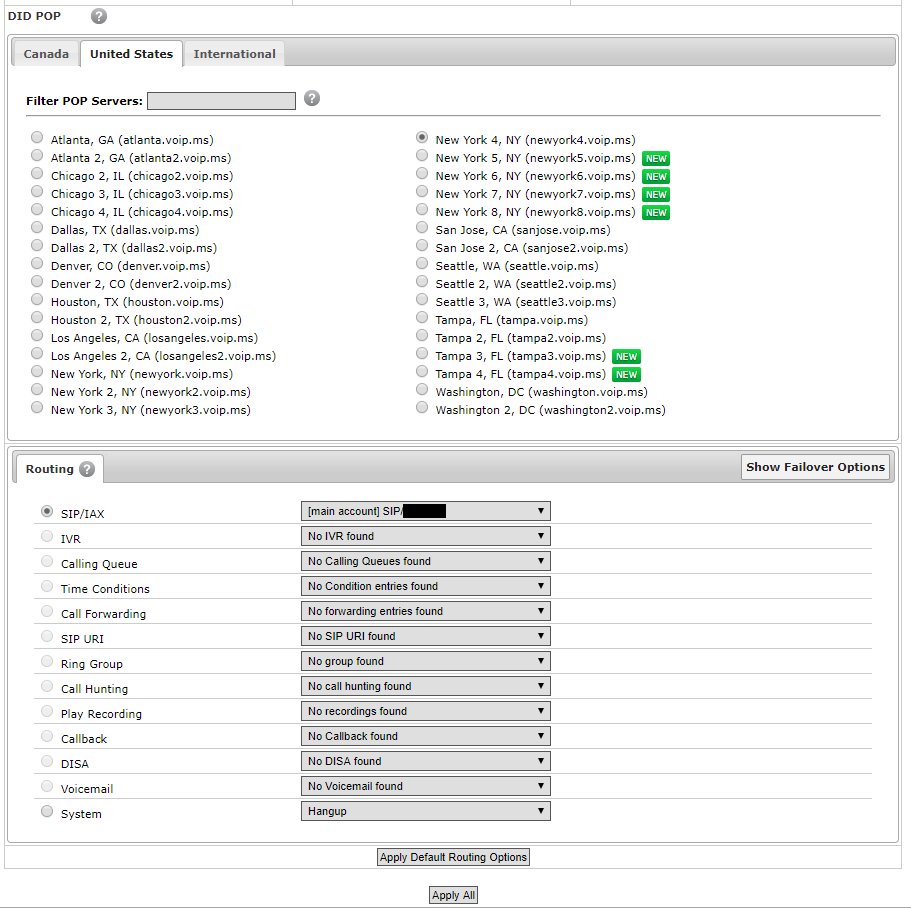
Choosing a server through VoIP.ms’ control panel.
Now we need to configure the PBX to actually use VoIP.ms. Log in to FreePBX and go to Connectivity » Trunks. Here, we will edit the VoIPms trunk that is already pre-configured (minimally) in Incredible PBX. If you don’t have this trunk already, you can press the ‘Add Trunk’ button to create a new one (chan_sip should work just fine if it prompts you). “Trunking” is a method in telecommunications that lets a system service many clients (like a tree trunk with many branches). From our perspective, this means that many people will be able to call in and interact with our PBX at once.

The Incredible PBX Trunks page.
On the General tab, give the trunk a name and an Outbound CallerID if you’d like (the number others will see calls coming from).
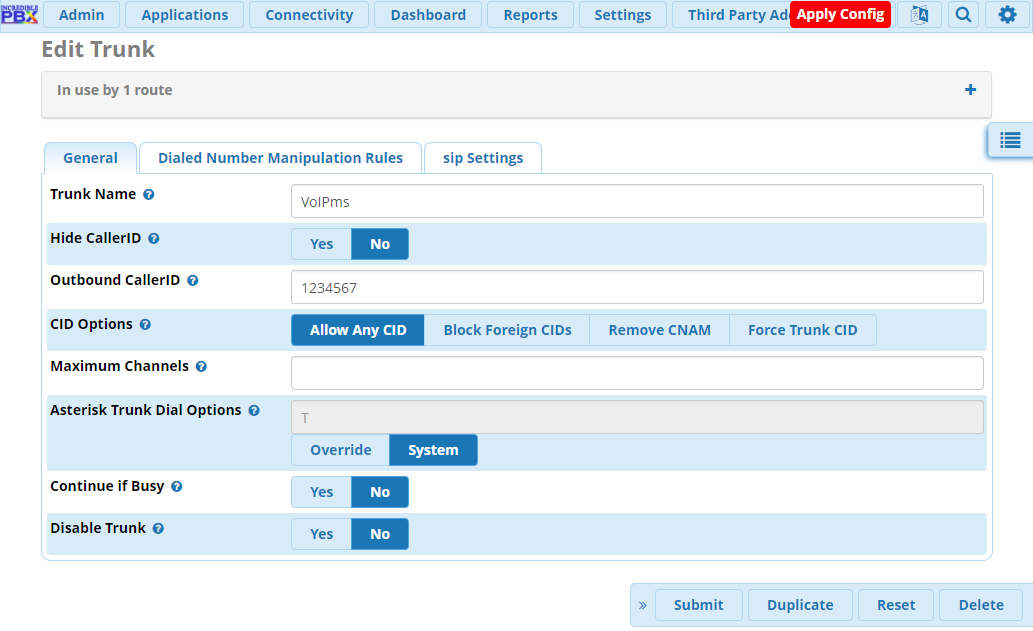
The General tab, under Edit Trunk.
On the Dialed Numbers Manipulation Rules tab, edit the dial patterns so the look like the following:
()  | 1NXXNXXXXXX
(1) | NXXNXXXXXXX
()  | NXXXXXX
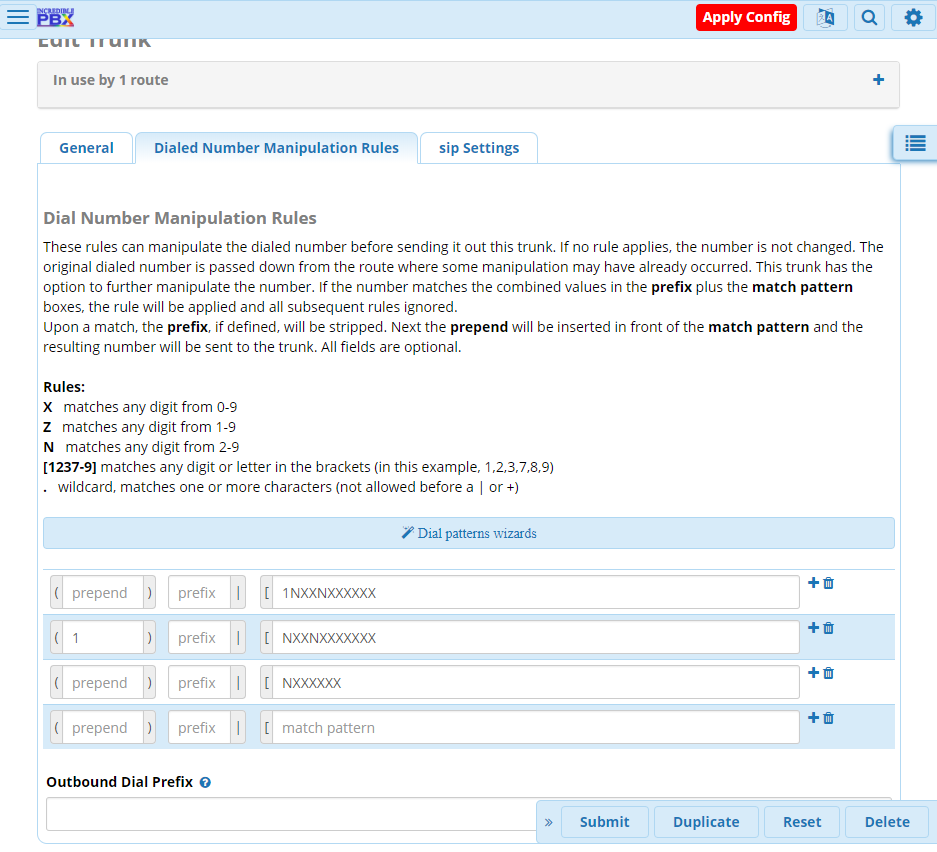
The Dialed Number Manipulation Rules tab, under Edit Trunks.
On the sip Settings tab, enter the following configuration using your username (a sip username emailed to you from VoIP.ms, not what you log in with), secret (password you use for VoIP.ms, unless you changed it through their Account Settings), and host (you specified this when you chose a pop server, something like newyork4.voip.ms):
username=YOUR-6-DIGIT-VOIPMS-USERNAME
type=friend
trustrpid=yes
sendrpid=yes
secret=YOUR-VOIPMS-PASSWORD
qualify=yes
nat=yes
insecure=port,invite
host=YOUR-VOIPMS-POP-HOST
fromuser=YOUR-6-DIGIT-VOIPMS-USERNAME-AGAIN
disallow=all
context=from-trunk
canreinvite=nonat
allow=ulaw
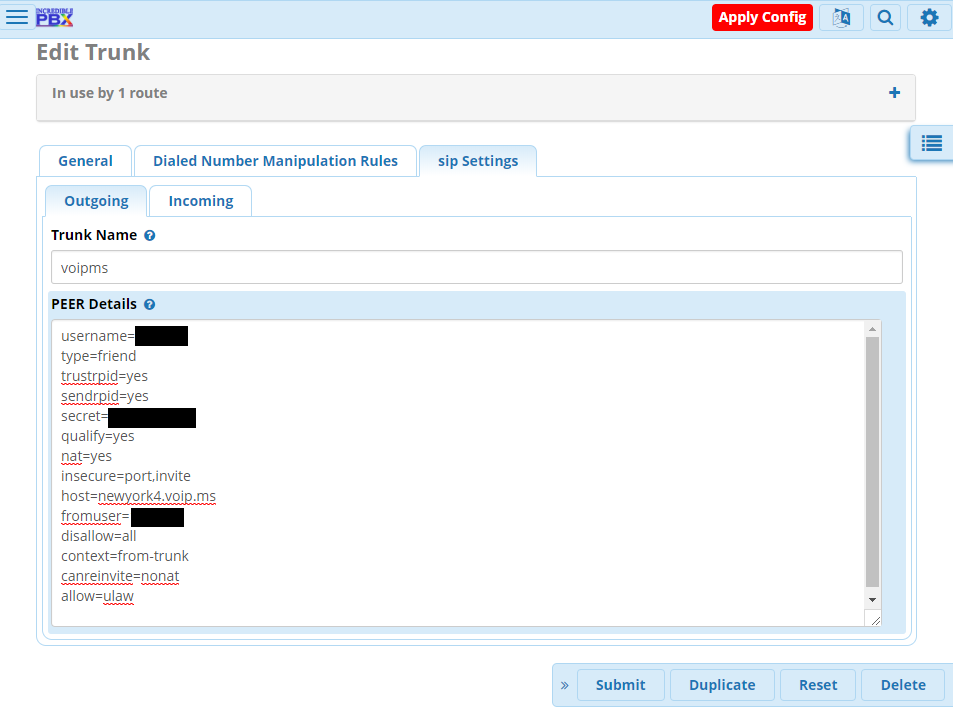
The Outgoing tab, under sip Settings, under Edit Trunk.
The sip Settings tab also has a sub-tab for Incoming (you are currently on Outgoing). Click on that tab and enter a register string in the following format:
YOUR-6-DIGIT-VOIPMS-USERNAME:YOUR-VOIPMS-PASSWORD@YOUR-VOIPMS-POP-HOST:5060/YOUR-6-DIGIT-VOIPMS-USERNAME-AGAIN

The Incoming tab, under sip Settings, under Edit Trunk.
Press the ‘Submit’ button when done.
Now go to Connectivity » Inbound Routes and press the button for ‘Add Inbound Route’. On the General tab, modify Set Destination to IVR (Interactive Voice Response), and choose the DemoIVR. All of the other tabs should have default settings. Press the ‘Submit’ button to save.
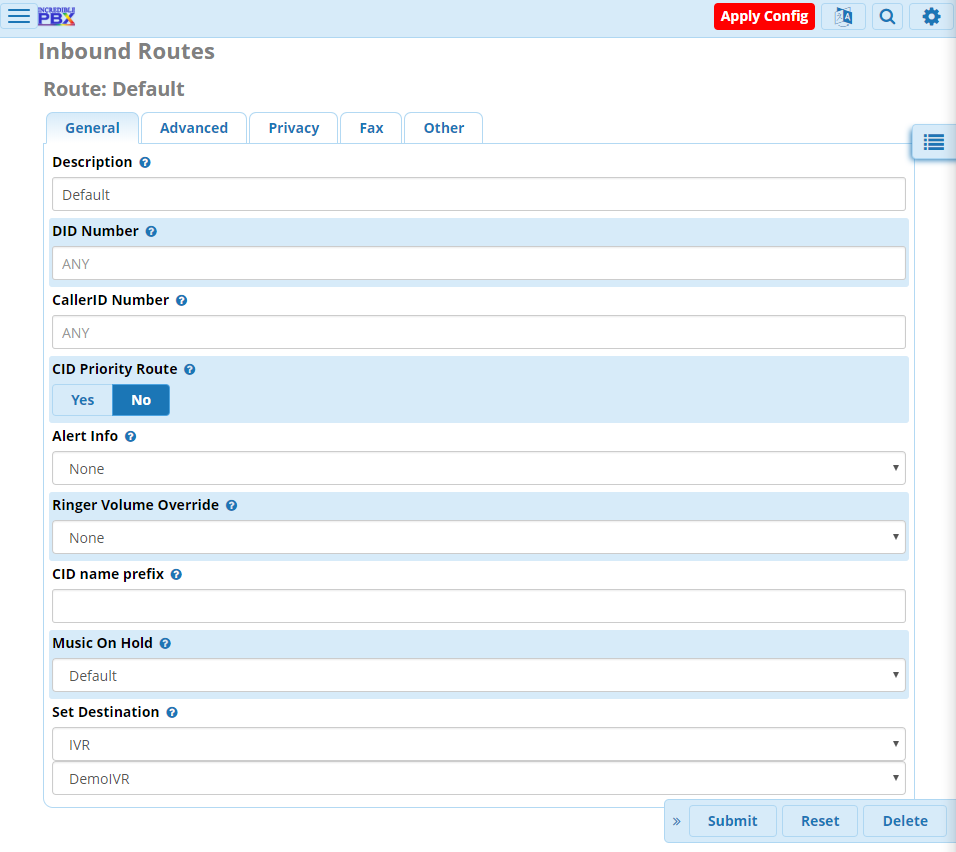
The General tab, under* Inbound Routes*.

The Advanced tab, under Inbound Routes.

The Privacy tab, under Inbound Routes.
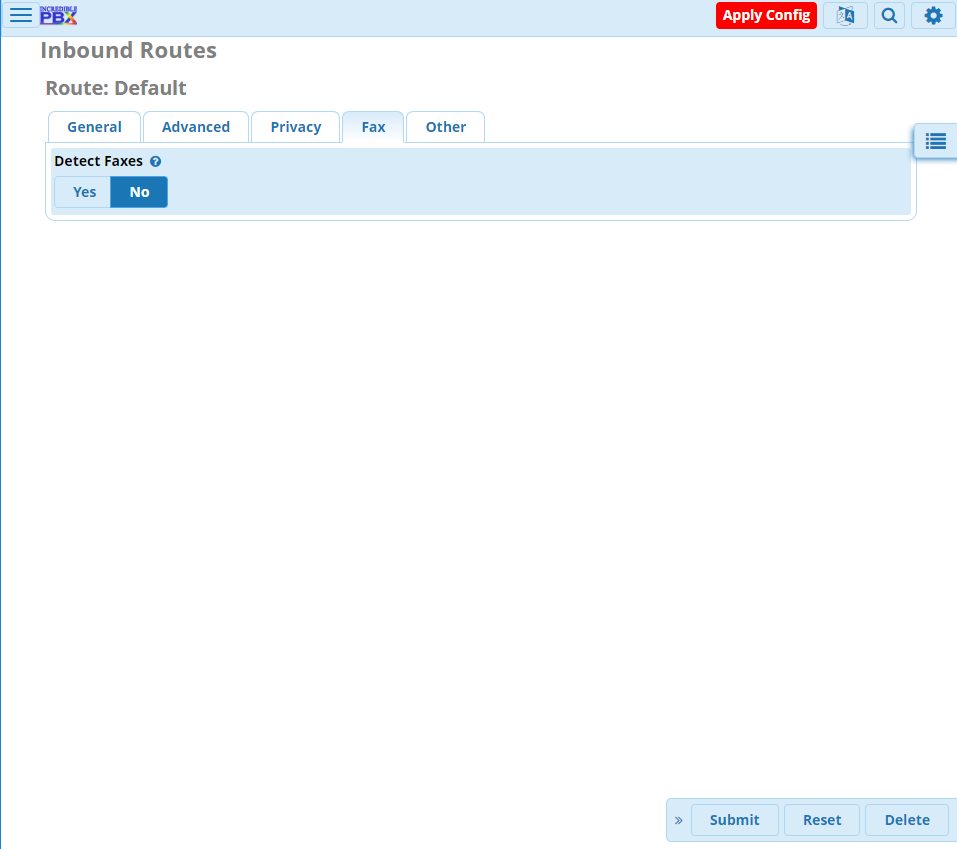
The Fax tab, under Inbound Routes.
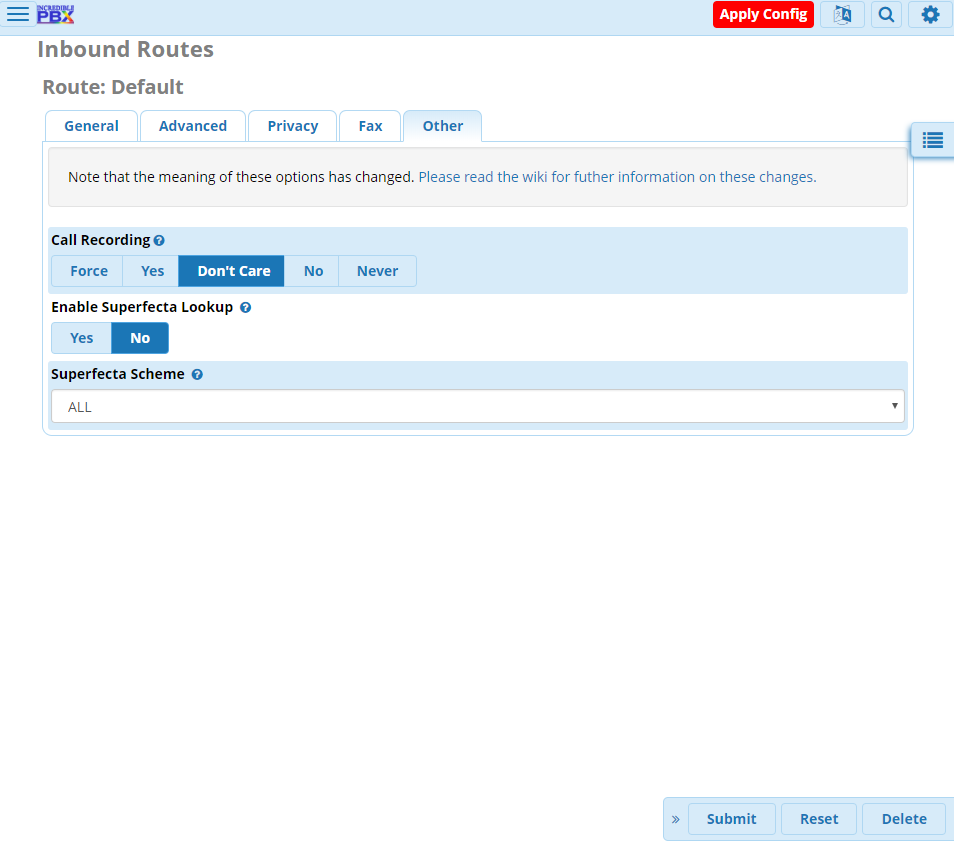
The Other tab, under* Inbound Routes*.
Next, go to Connectivity » Outbound Routes and press the button for ‘Add Outbound Route’. The settings here will mostly mirror your trunk configuration. On the Route Settings tab, give the route a Route Name, and set the same Route CID you did for the trunk earlier. For the Trunk Sequence for Matched Routes setting, select the VoIPms trunk.
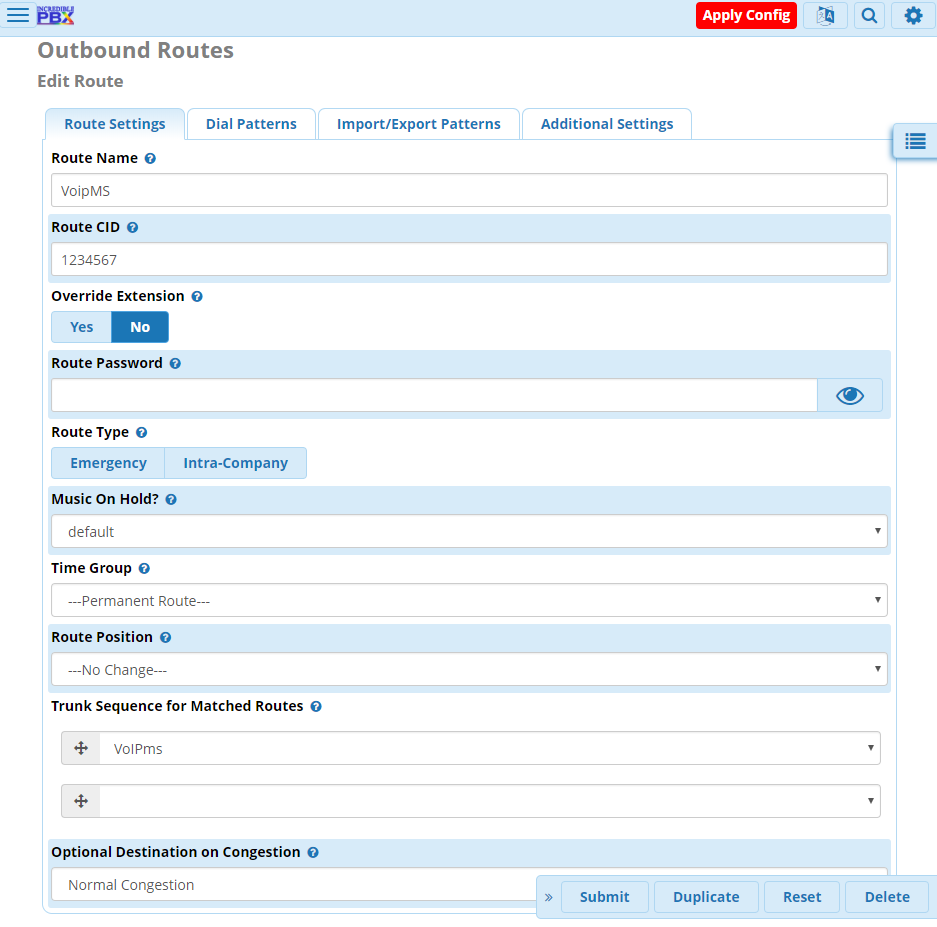
The Route Settings tab, under Outbound Routes.
On the Dial Patterns tab, make sure to use the same dial patterns set for the trunk earlier.
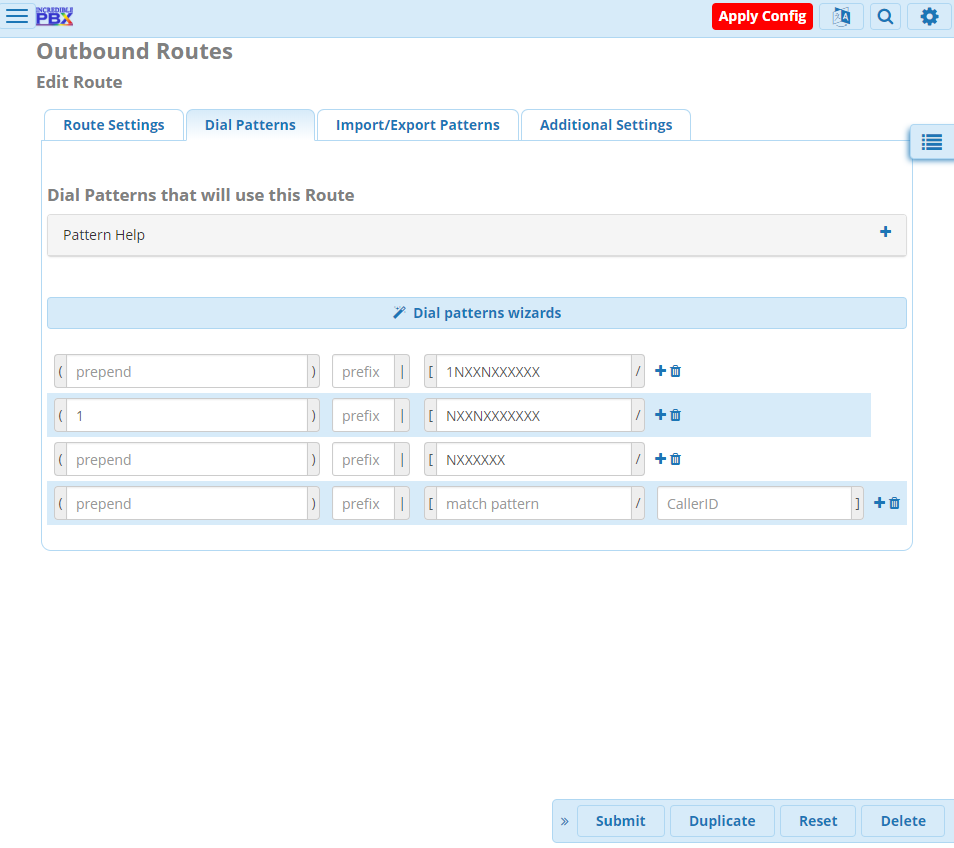
The Dial Patterns tab, under Outbound Routes.
We won’t need to change any settings on the Import/Export Settings or Additional Settings tabs.
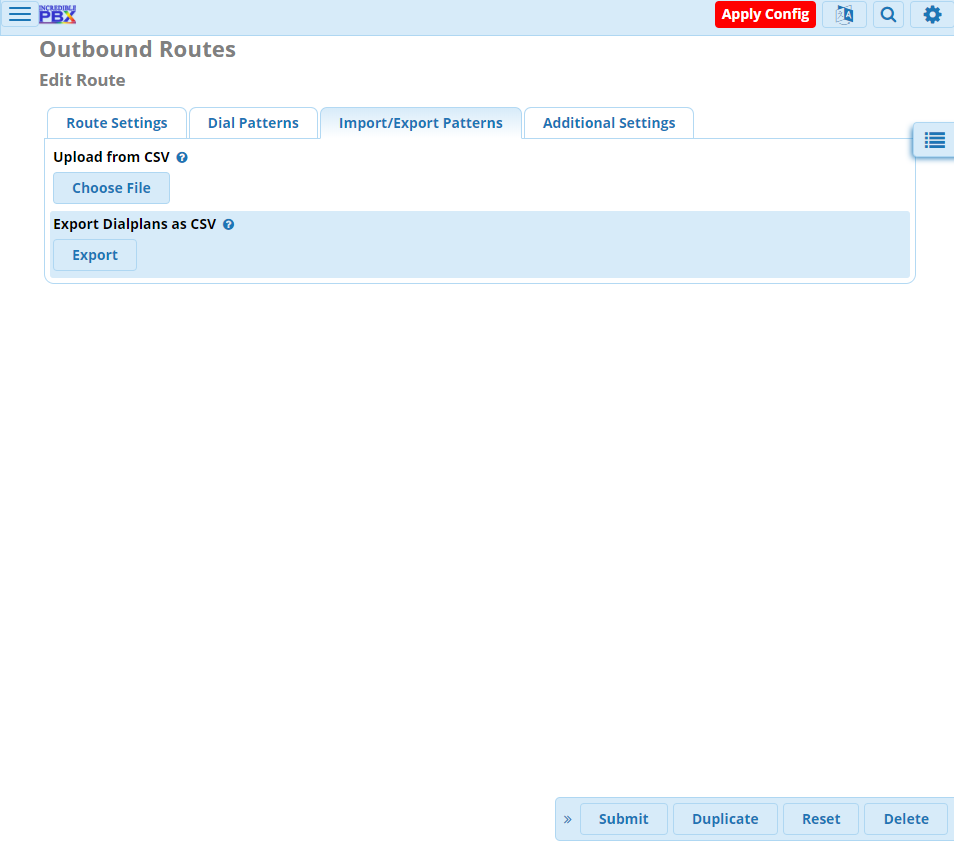
The Import/Export Settings tab, under Outbound Routes.
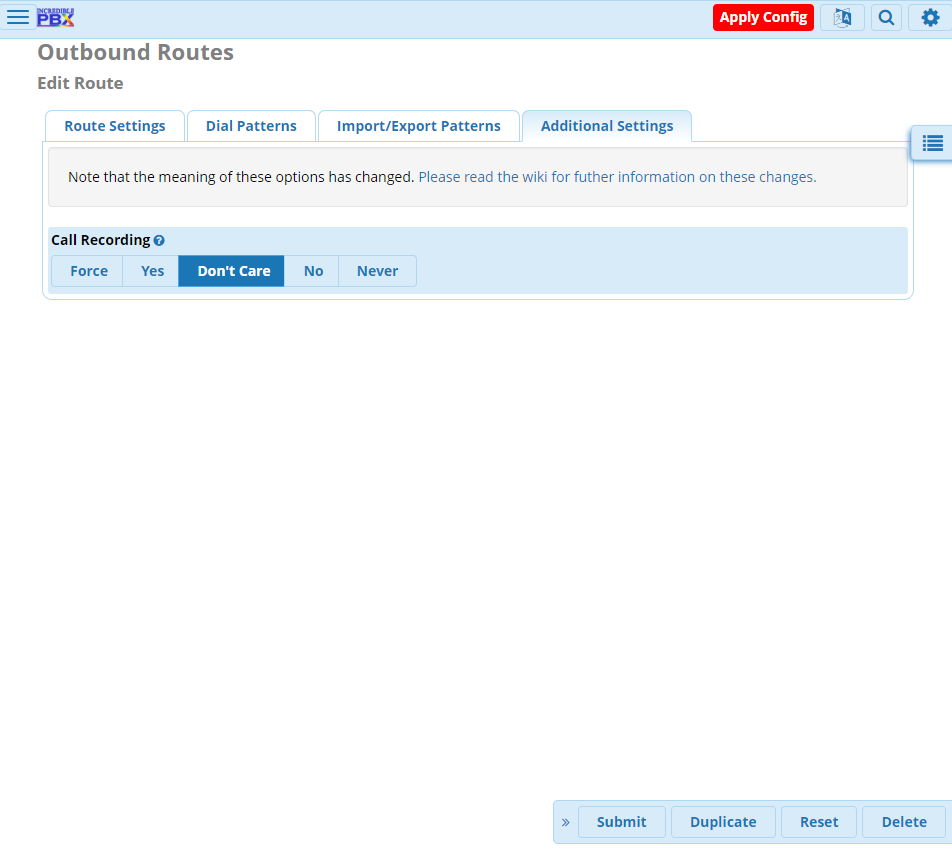
The Additional Settings tab, under Outbound Routes.
Finally, press the big red ‘Apply Config’ button at the top right of the page. This will apply the new config and make our trunk/route changes live.
At this point, you should be able to call the DID number you got from VoIP.ms from any phone and have it reach your PBX, which will lead you to an automated menu with a few options. If you don’t get a friendly greeting and a bunch of options you can choose, check your config and see if anything looks incorrect.
We will test the outgoing calling in the next part of this guide when we set up a phone to interact with the PBX!