Building A PBX Part 3 — Hooking Up A Touch-Tone Phone
This article is one in a series about building a PBX. If you haven’t already, please check out the first in the series, Building A PBX Part 1 — PBX Hardware.
So now that we have incoming and outgoing calls configured on the PBX, we can actually hook up a touch-tone phone to make and receive calls!
Your standard phone is going to have an RJ-11 jack to interface with telecommunications equipment, but of course our Raspbery Pi setup doesn’t have any sort of dial-up modem card or anything that might make some sort of sense when it comes to wiring everything up.
We need what is known as an ATA (Analog Telephone Adapter), a device that sits on the local area network and interfaces with our PBX via TCP/UDP, while also simulating a traditional telephone network connection for our physical phone to use.
I purchased a very basic OBi100 ATA device to use with my touch-tone phone. It is important to note at this point that not all adapters support older rotary phones (which use pulse dialing, but more on that in a future article) pretty much any ATA will support touch-tone phones (which use tone dialing). That said, a lot of these devices have very cryptic configurations, and it might be difficult to find how to use them. The OBi100 has been discontinued, but it is fairly well documented and available used for around $10-$20 USD on sites like eBay.
Now that we have our OBi100, we need to do some initial setup on the PBX to communicate with it. Log in to Incredible PBX via the web interface and go to Applications » Extensions. There will probably be some existing extensions there, but we want to make a new one. So we can press the ‘Add Extension’ button, and choose ‘Add New PJSIP Extension’ from the drop-down.
Now we can fill out information for a new extension that will correspond to our phone on the General tab. Pick a User Extension (like 1234, something users on your PBX will dial to reach our), a Display Name (a nickname to identify this extension), and a Secret (just a password for this extension). Below in User Manager Settings, we will create a new user on the PBX for this extension. Under Link to a Default User, select Create New User, and then check the box below for Use Custom Username before adding a name into the Username field (I use the extension for this). Below, enter a password in Password for New User (I use the same one specified for Secret above).

The General Tab, under Add PJSIP Extension.
Now click on the Voicemail tab so we can set up some basic voicemail functionality. Under Enabled, select Yes to turn voicemail on, and provide a Voicemail Password (something 4-digits long, easy to enter via your phone works well). Optionally, toggle the selections for Require From Same Extension (so you need to enter the voicemail password when calling from your extension) and Disable (*) in Voicemail Menu (which allows access to the voicemail menu remotely) to Yes and No respectively. Additionally, you can supply an Email Address for voicemail notifications to be sent to, and you can toggle Play CID to Yes, which will read back the caller’s phone number before playing a voicemail.
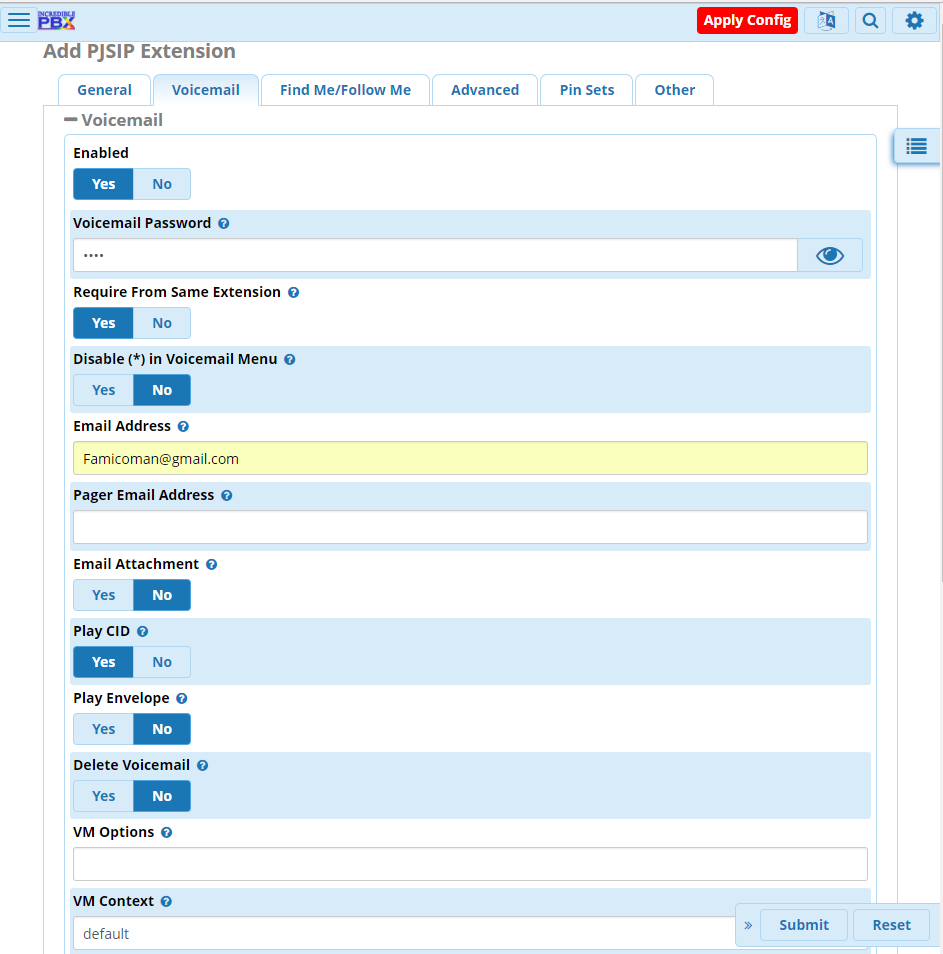
The Voicemail tab, under Add PJSIP Extension.
We will leave all other settings on this and other tabs untouched, so press the ‘Submit’ button to save this extension.
Now, navigate to Applications » IVR to get to the IVR (Interactive Voice Response) list. We will be modifying the DemoIVR, so click on the Edit icon for DemoIVR. We will be modifying the IVR so that when someone calls into our PBX, they can dial our extension and ring our phone.
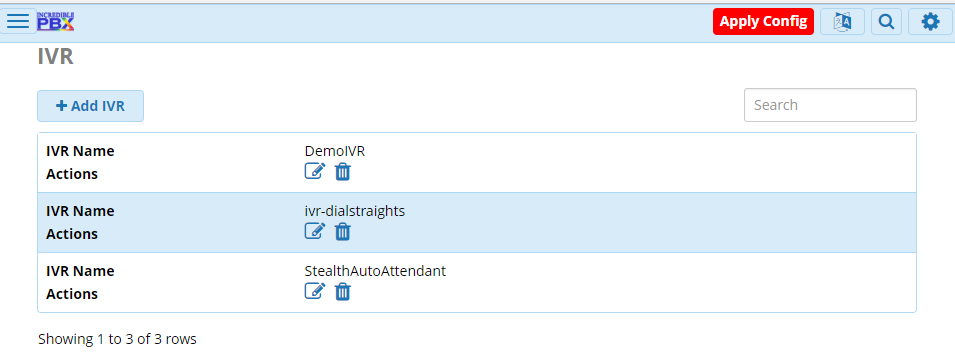
The IVR page, under Applications.
Scroll all the way to the bottom of the Edit IVR: DemoIVR page to the IVR Entries section. You should have a blank box at the bottom under the Digits column, but if not, press the button titled ‘+ Add Another Entry’ to add a blank row. In the empty row, enter your extension (from earlier) in the Digits column (I use 1234), and from the drop-down in the Destination column, choose Extensions and then select your extension from earlier in the drop-down directly below (mine reads 1234 TouchTone). When done, press the ‘Submit’ button to save the IVR.
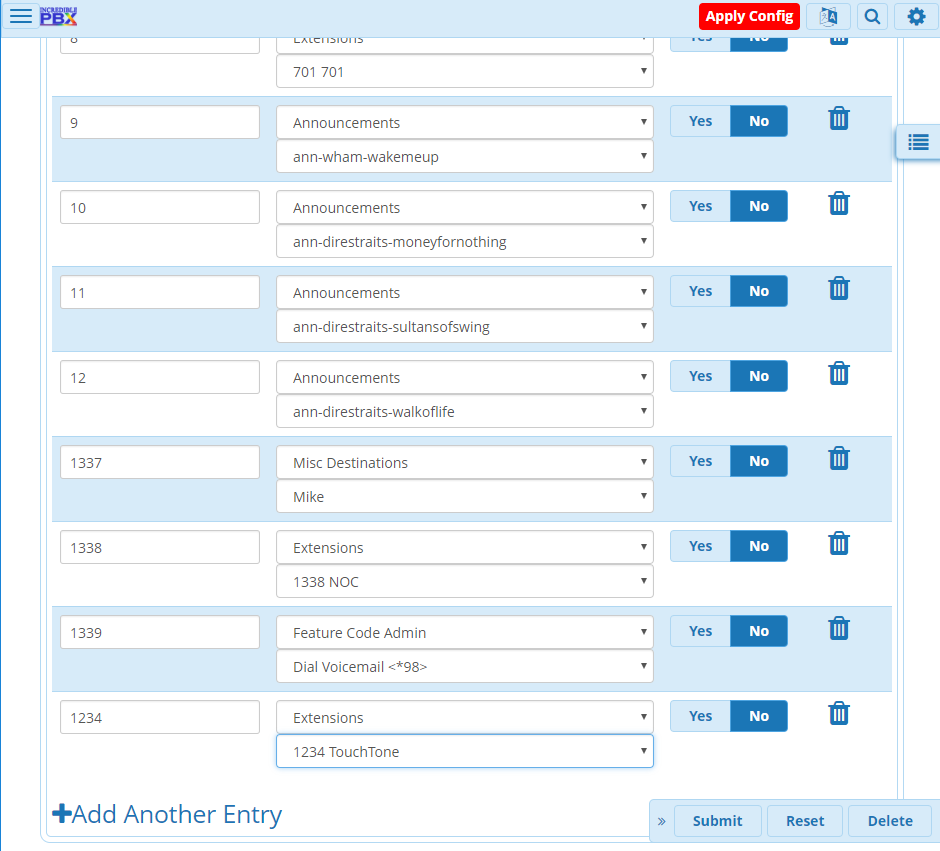
Adding an IVR Entry to DemoIVR.
Finally, press the big red ‘Apply Config’ button at the top right of the page. This will apply the new config and make our extension/IVR changes live.
Now we need to configure our OBi100 device. Physical setup is very easy. Plug the telephone into the RJ-11 jack of the OBi100 using an RJ-11 cable. Similarly, plug an ethernet cable into the RJ-45 jack of the OBi100, and plug the other end into a spare jack on a network switch in the same LAN as your PBX. Finally, connect the power adapter up between the OBi100 and mains, which will automatically boot the device (it will now light up some green LEDs). At this point, it is probably a good idea to factory reset the device by holding down the reset button on the OBi100 with a paperclip until it restarts. This will clear any old/junk configurations.
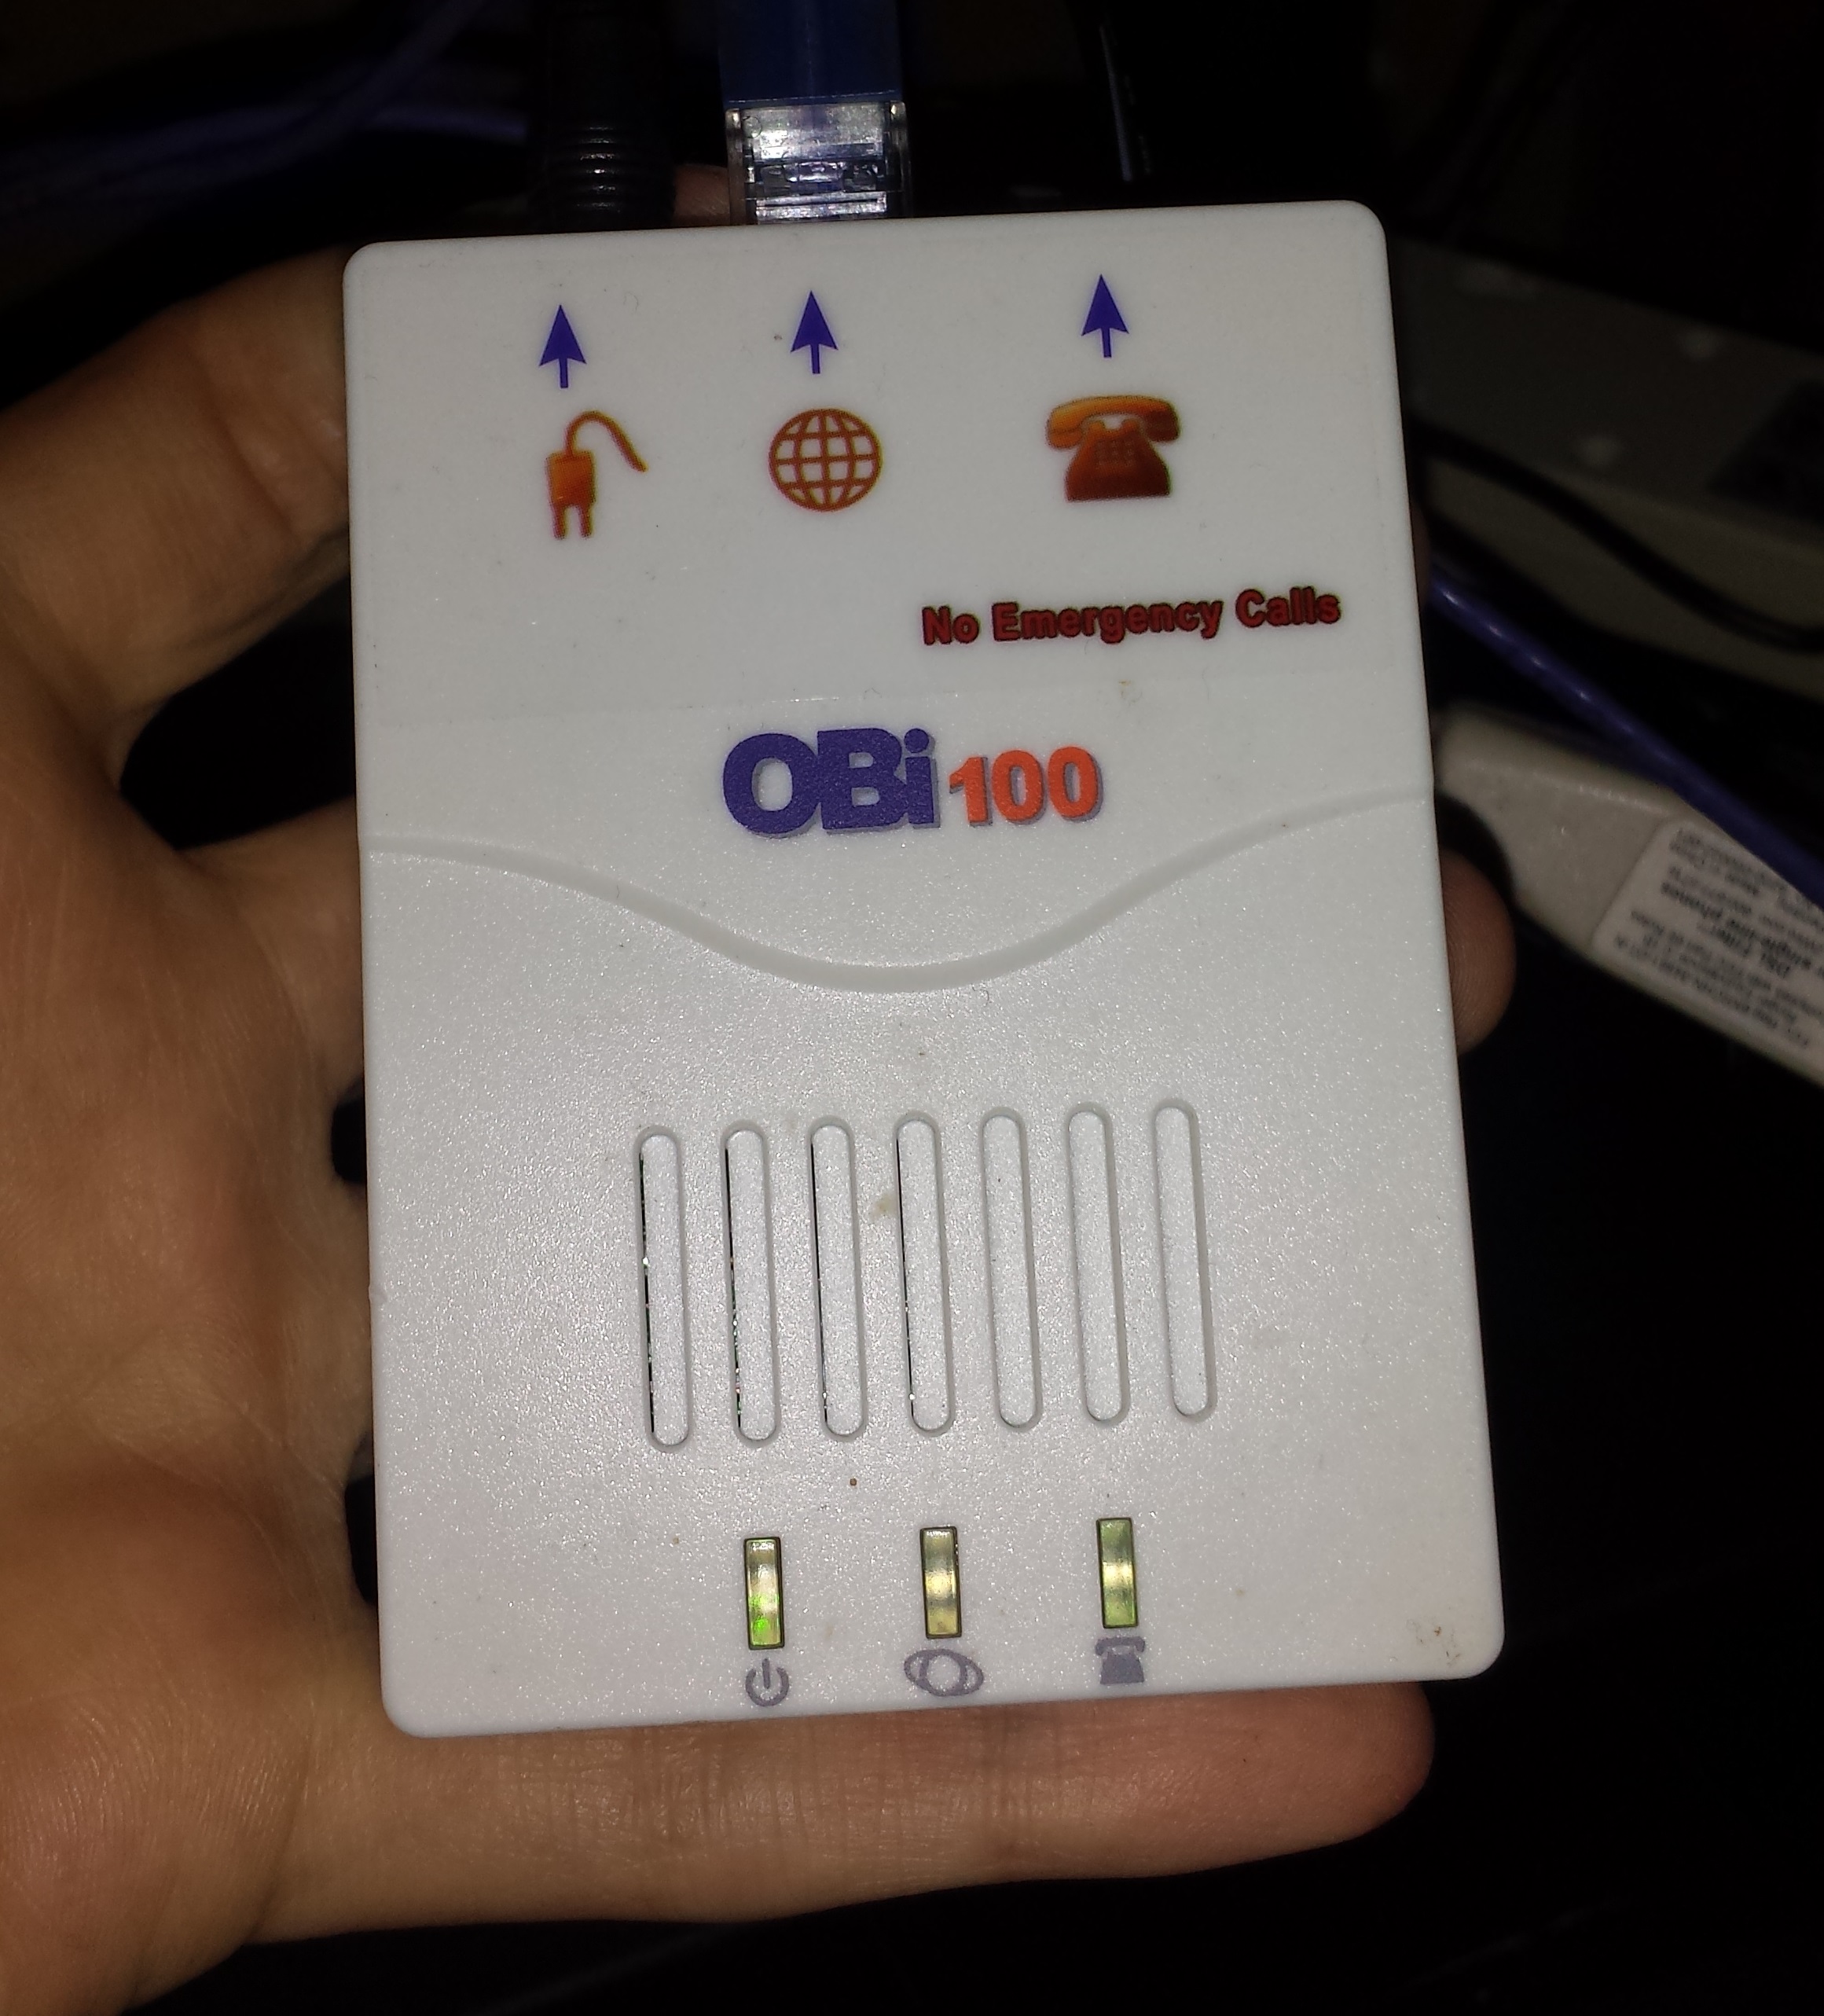
The OBi100 up and running.
Now, check your router or nmap scan your network to find the IP address of the OBi100 and visit it in a browser. We will be prompted for a username and password (admin/admin) which we will need to enter to get to the dashboard to continue configuration.
On the left navigation, click on Service Providers » ITSP Profile A » SIP to view our SIP configuration. Uncheck the check-boxes in the Default column for ProxyServer and ProxyServerPort. Under the Value column for ProxyServer, put the IP address of our PBX. Under the Value column for ProxyServerPort, put 5061 (The port PJSIP is using on our PBX).

SIP configuration, under ITSP Profile A.
Now scroll down to the bottom of the page and press the ‘Submit’ button. You will now be at a confirmation page, but we aren’t done just yet.
On the left navigation, go to Voice Services » SP1 Service. On the SP1 Service page, under SIP Credentials, uncheck the boxes under the Default column for AuthUserName and AuthPassword. Under the Value column, for AuthUserName enter our extension number (I used 1234) and for AuthPassword enter our extension S_ecret_ (the password we set for the extension).
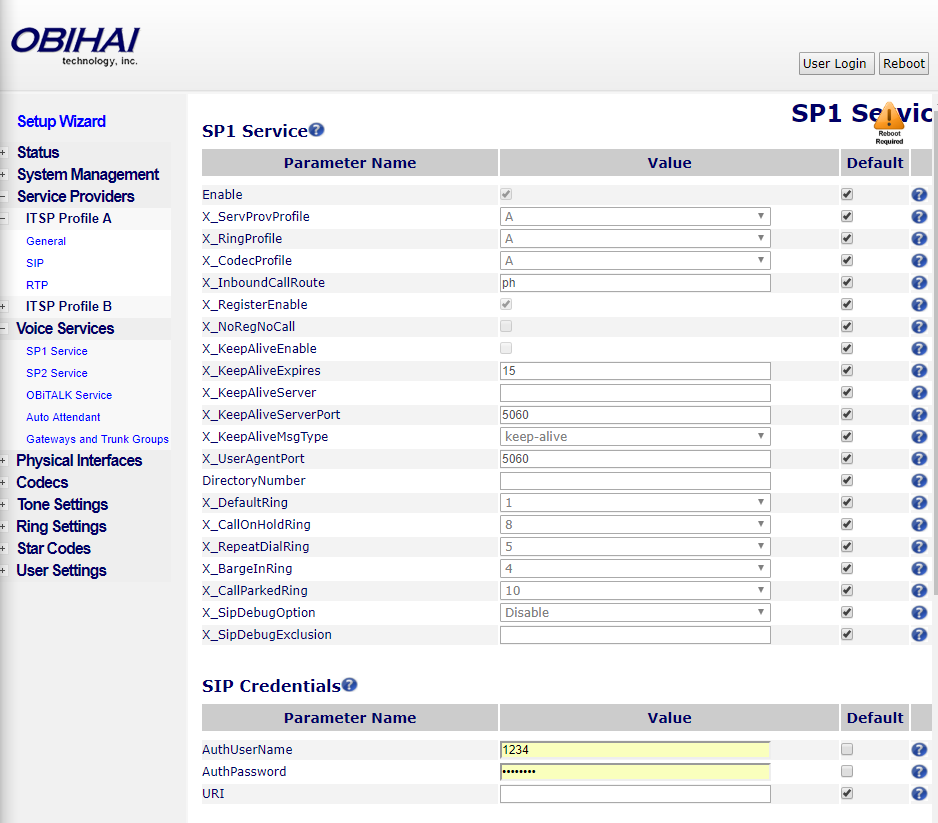
SIP Credentials, under SP1 Service.
Again, Now scroll down to the bottom of the page and press the ‘Submit’ button. On the resulting confirmation page, press the ‘Reboot’ button in the top right corner to reboot the device. This will apply the new configuration we specified after the device boots after a few seconds.
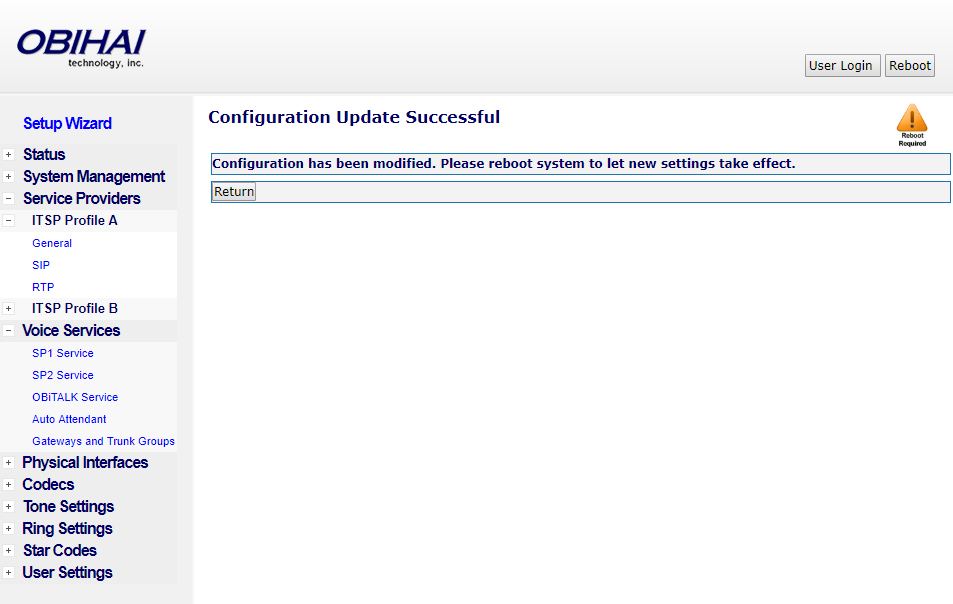
The OBi100 confirmation page.
After giving the device enough time to reboot (about 5 seconds from what I’ve seen), we can now test incoming and outgoing calls to our phone. I’m testing using an old (and filthy) Western Electric 2500.
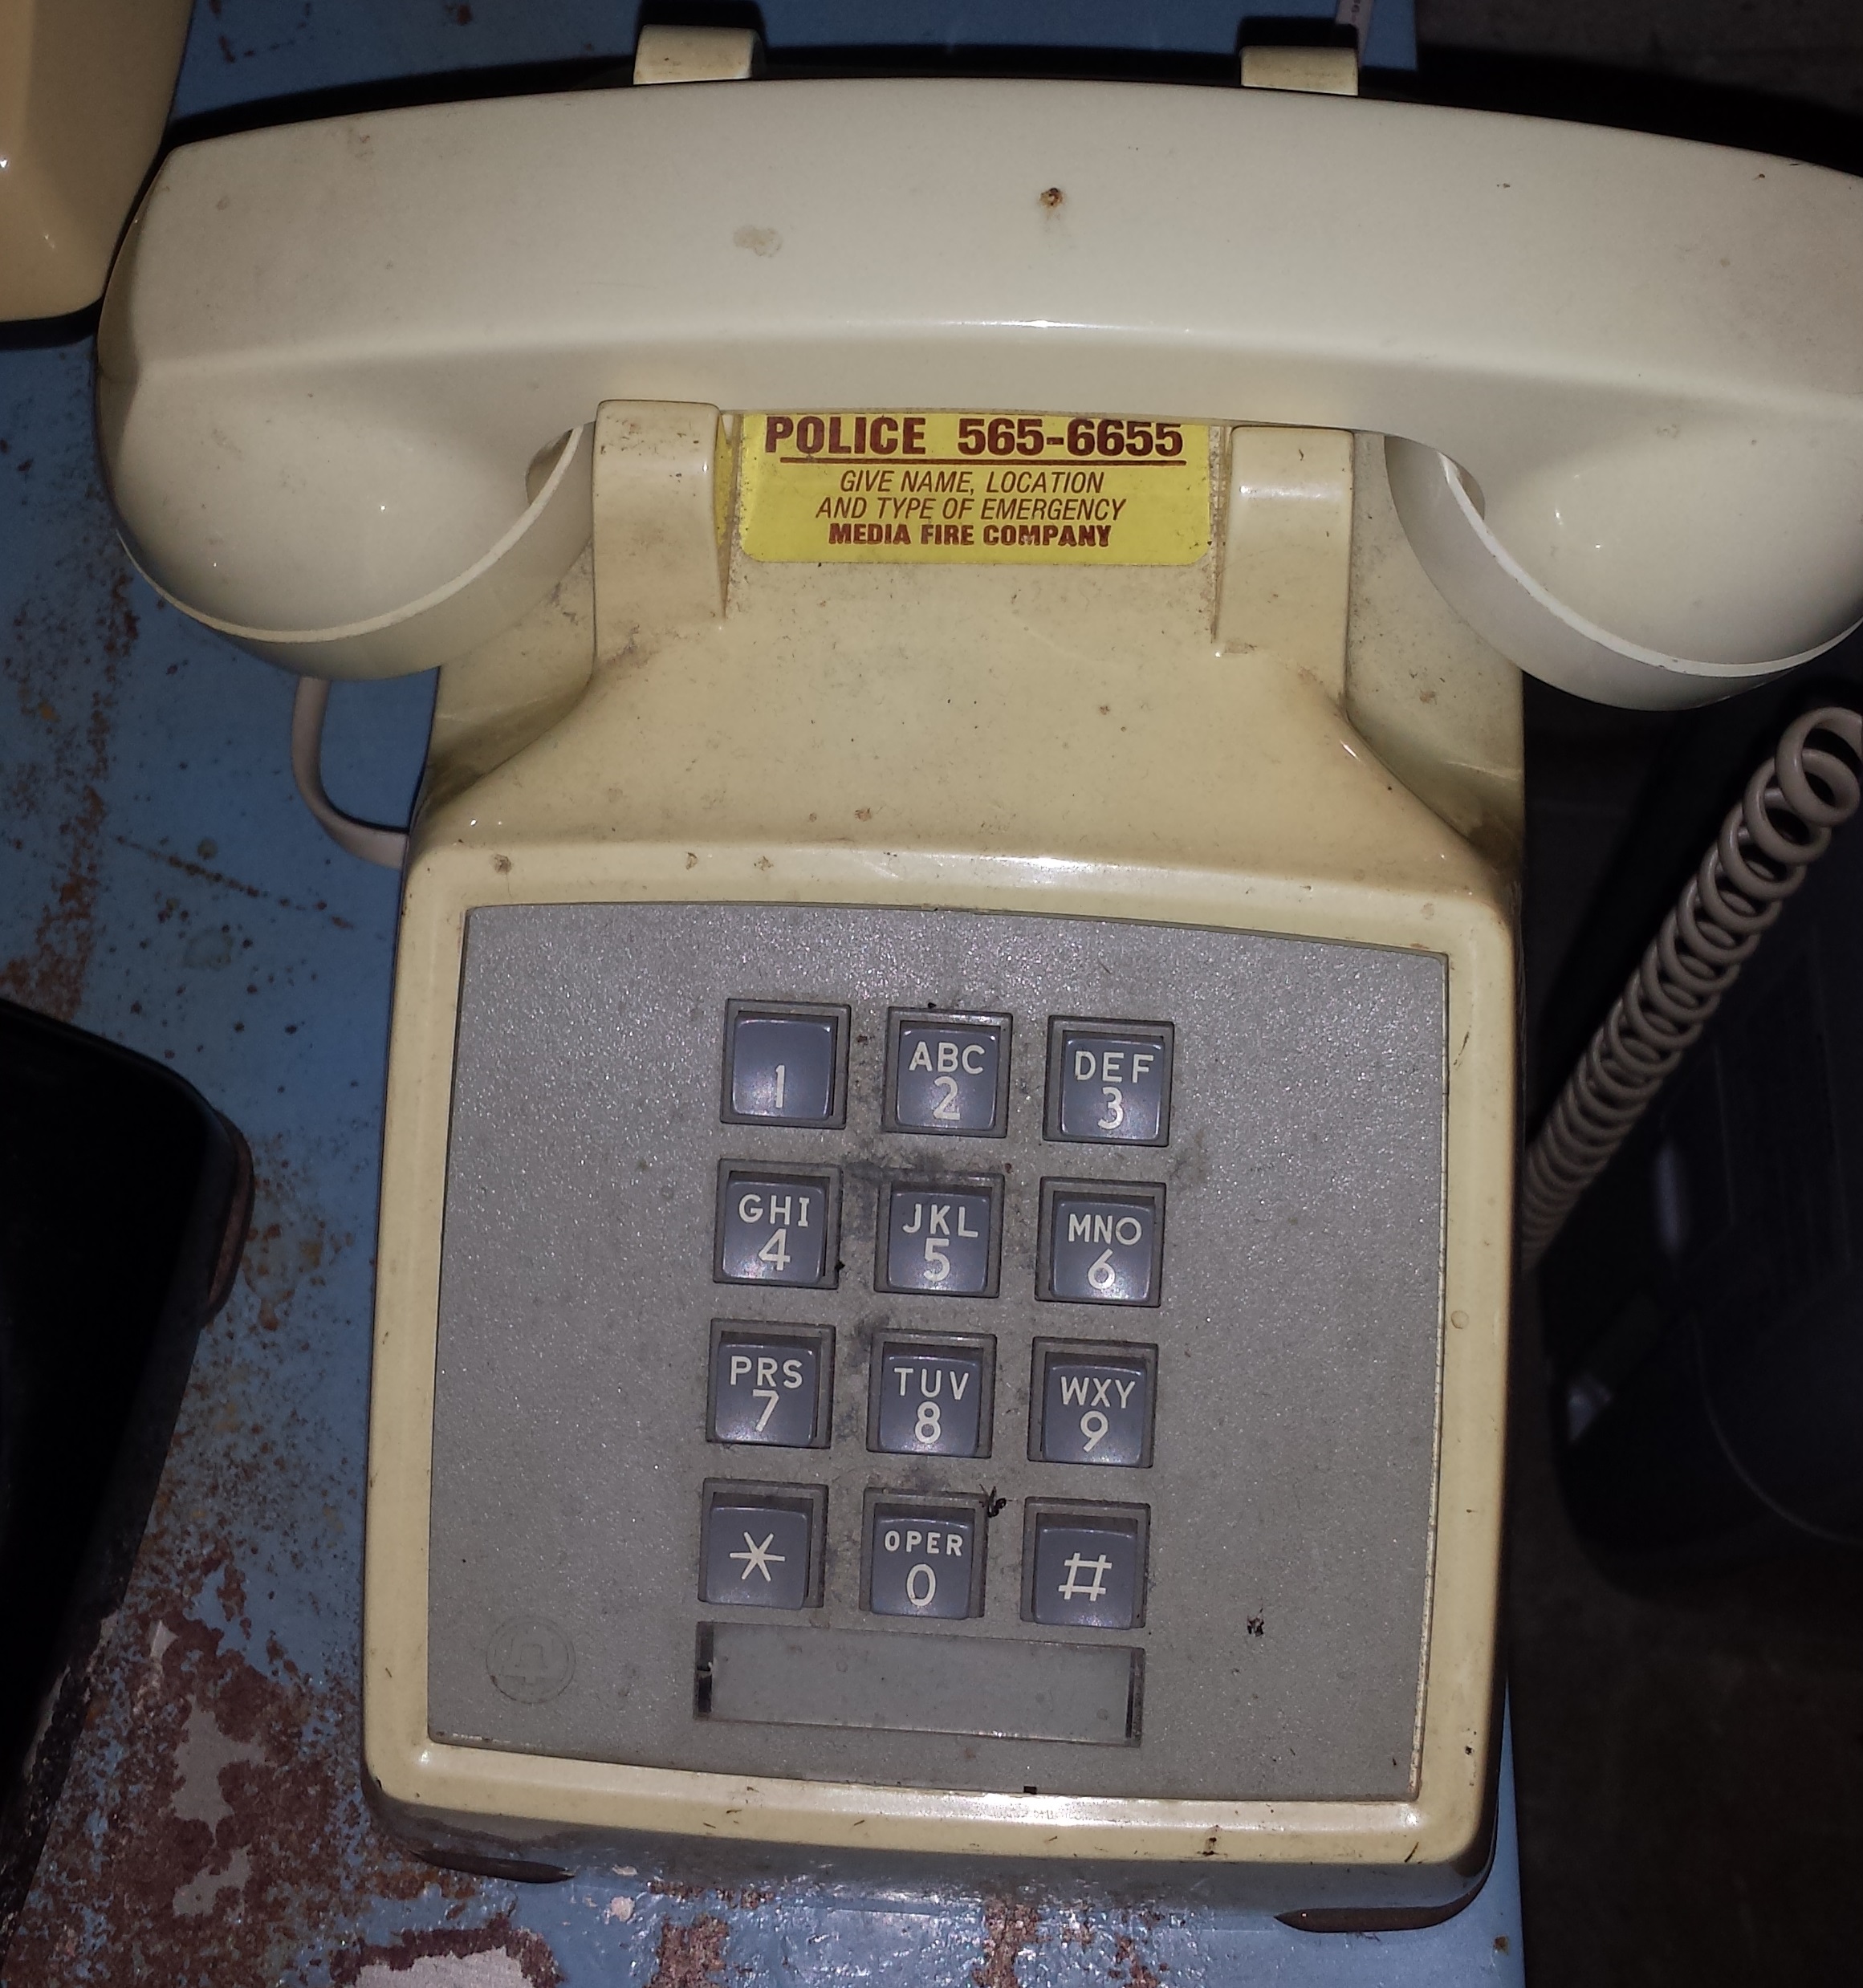
The Western Electric 2500.
To test incoming calls, from an external line (like a cell phone) dial the DID number to access the PBX (as you did in part 2). When you can hear the IVR provide you with options, enter the extension we set up (1234), and wait a second or two. Your touch-tone phone should start ringing, allowing you to pick it up and connect the call!
To test outgoing calls, pick up the handset on your touch-tone phone (the one configured in this guide to work with the PBX) and dial 1 followed by an external phone number (like your cell phone). For example, if my cellphone had the number 555-123-4567 I would dial 1-555-123-4567 to place an outgoing call (1 has been set up to dial out). Within a few seconds, the call should come in to your cell phone (or whatever external phone you are using) and even display the outbound CID you specified earlier as the caller ID (pretty cool, huh? Talk about easy spoofing). Answer the call to test if you can hear both sides of the conversation!
You should now have a touch-tone phone configured with your PBX that can make and receive calls! If you can’t seem to properly make or receive a call, check the config on both the PBX and OBi100 to see if anything looks incorrect.