Creating a Web Server With Abyss
Owning your own web server is a brave and exciting venture. But why would anyone want to own their own? Well. For the longest time, I wondered to myself if there was a way that I could get a free host for my stuff, as much space / bandwidth as I wanted, and do it for free. I found that there was in fact a way. By hosting the stuff on one of my own machines. This guide will tell you how to do just that.
To start out, you first need to pick your machine. I decided to go with a Celeron Machine I had sitting around. Now, what do you need to look for? I bought this machine for only $20. You don't have to break the bank when trying to create your own web server. Also, it doesn't have to be the fastest machine in the world, eigther. Mine happens to run at 500Mhz, and works perfectly. I could even see slower machines working as well. Something around 400Mhz may work just as fine. Any way, you will also need a network card, a high-speed internet connection (Cable, ADSL), and a desire to keep this computer running 24/7.
After you have your machine networked and able to access the web, its time to get the software. For this server, I will be using Abyss. I find it very simple to use, and customize. I will also be running it on a Windows platform because anyone might have a Windows box lying around. There are also copies of this software for Linux, Mac OS, and BSD. You can get the software here.
After you download it, and start the installer up, you should get a screen like this:
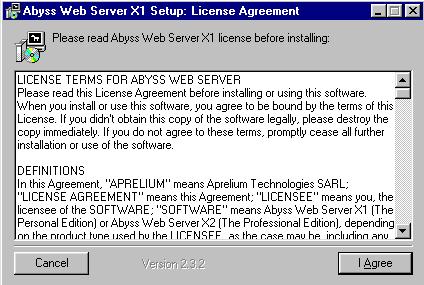
Click "I Agree" to continue.
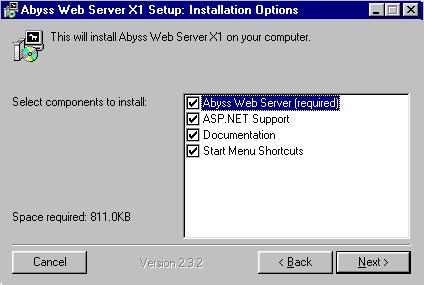
You will then get a list of what will be installed. Click "Next" to continue.
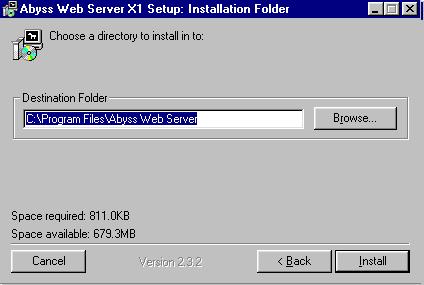
Next, the installer will tell where the files will install. Click "Install".
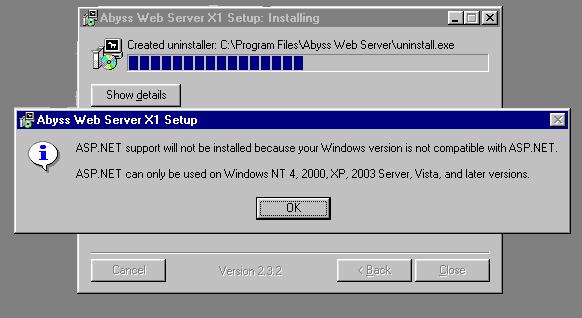
You may hit a point in the installation where ASP.NET could not be installed. Simply click "OK". This program is not important to the server application, and it not being installed won't affet the preformance of the server.
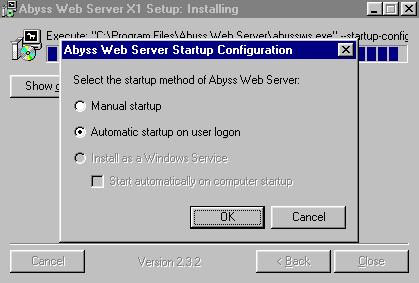
Next, you will be asked whether you want the server to run automatically when Windows starts up. This is a good idea in case your system gets reset, or you have a power outage. Click "OK".
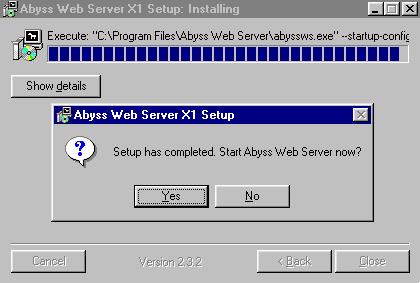
You will then get a window telling you install has completed. Click "Yes" to start the server.
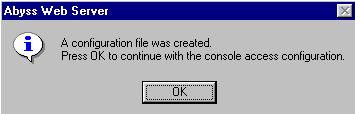
You should get a console window, and then it will disapear and this screen will pop up telling you the config file was created. Press "ok" once more to finish instalation. A browser window should then pop up:
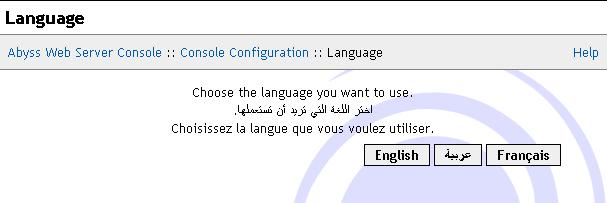
Choose your language. I will be using English.
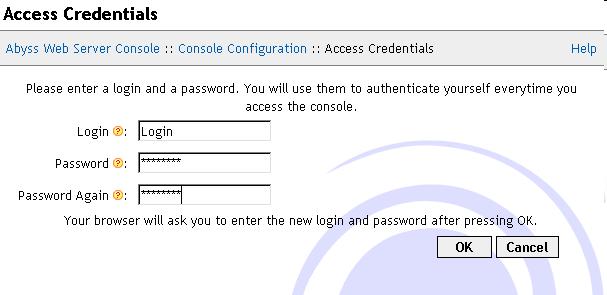
Choose a Login, and Password. It would be best to write the down. Click "Ok" to continue.
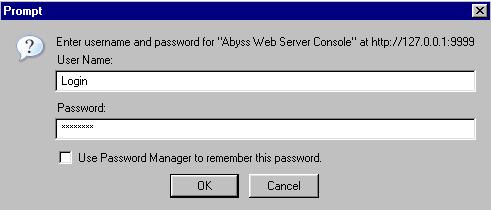
You then will be asked to log in using said user name and password. Enter them, and press "OK".
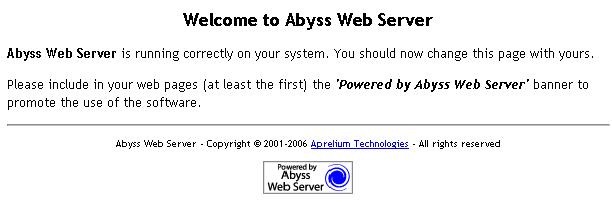
Your server is now up. Open a new window in your browser, and type "http://localhost" in for the url of the page you want to visit. This will go to your server. You should get a page like this:
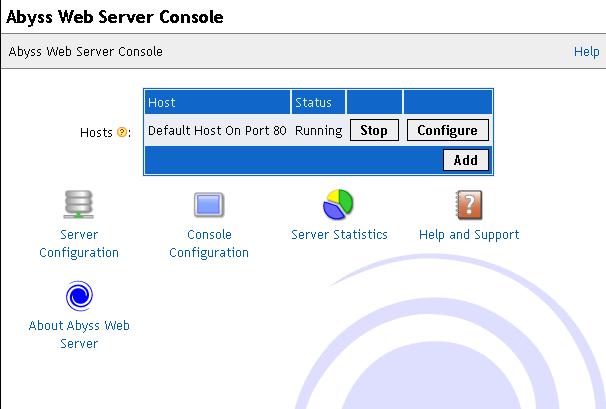
A t this point, you might think we are done. However, we need to change the port your server is running on. Unless you have a bussiness class internet service, your ISP will block port 80, the port http uses to communicate. You need to change this to something different. Back to this screen:
Click "Configure" that should lead you to another page where you must click "General" afterwards, you will be on this page:
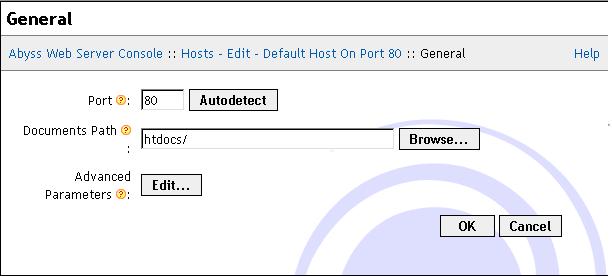
You need to put something different in the "Port" box. Common Ports are 81, or 8080. You can also use some signifigant numbers like 1337 or 2600. You can really put almost any 3 or 4 digit number. You can also choose to "Autodetect" or detect a port that is already open. This is handy because you don't have to port foward anything on your modem, saving you time. Pick a port number, and click "ok" you may be asked to restart the system. Do so, and you will be running the server on the port that you just chose.
Now. Go back to that browser window with "http://localhost" in the url bar. Refresh it. It should come back with a "This page cannot be displayed error. Simply add a colon followd by your port number after the url. giving you "http://localhost:XXXX" where xxxx is the port number. This should load your page.
That is really the only catch of running your own server. You have to have the port pointed out in the URL.
If you need to, be sure to, at this point, to foward the needed port on your Firewall / Router / Modem. For this, check your instruction booklet, manufacturer's website, or this refference site. After you have fowarded the port. You need to find your IP address. My favorite site to use is Ip Chicken.
For the final test, type your Ip address into the url bar in your browser, followed by a colon, followed by your port number and press enter. You should see this page:
Condradulations! You have successfully created a web server. Now you can create a new index page for all of your files. If you can't see this page. Make sure that your ports are fowarded properly.
Now that you have your server live, you might consider masking your ip.
Website Powered by HTML |
||
All origional Content and site design licensed under the Creative Commons law; some rights reserved. All content on this website is for informational purposes only. Any and all trademarks are property of their respected owners. I am not held responsible if harm happens to you or to any of your belongings from anything you might read, or download here. |
||
This site is best viewed in Firefox at 1024x768 Resolution |
||