Printing to an ESC/POS Receipt Printer from Linux
A receipt printer can have many uses besides simply printing… well… receipts. It can be a lot of fun to send different things to it like system logs, POCSAG pager messages, or even zines. I thought it would be fun to use one for live printing out IRC messages so I had to figure out how to hook it up and get text to actually come out of it.
I happen to have an EPSON TM-T88III thermal printer that uses the ESC/POS control language, a popular standard for point of sale printers. This printer (any other ESC/POS units) seems fairly easy to interface with, but first it needs to be physically connected to a computer. Luckily, this printer has a DB-25 port labeled “RS-232” on the back so we only need a few things to hook it up.
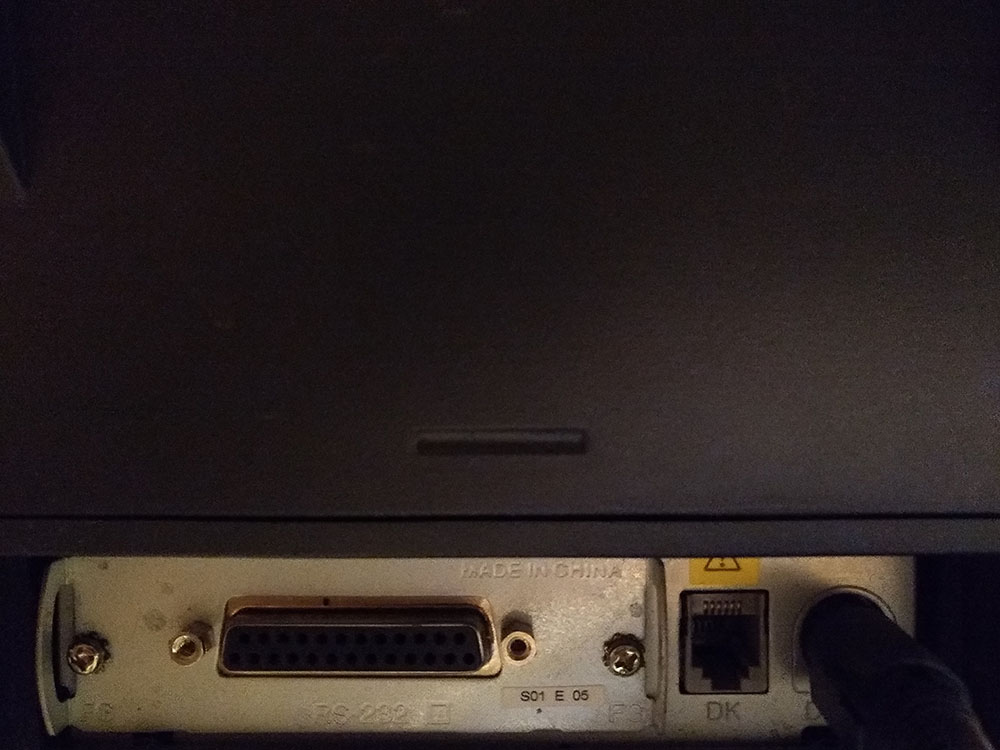
The RS-232 port on the back.
Since the computer I want to use doesn’t have a DE-9 port for serial, I’m going to be using a USB to serial adapter. The inexpensive Sabrent USB 2.0 to Serial (9-Pin) DB-9 RS-232 Converter Cable from Amazon will get the job done, but others should work fine as well. The USB adapter provides a DE-9 connector while the printer has only a DB-25 port. We will need to get a cable to connect the two together as well as a null modem adapter. You can easily purchase an all-in-one cable with DE-9/DB-25 conversion and null modem adapter built in like the 6ft Null Modem DB9F/DB25F Molded Cable from Monoprice. Any other combination of DE-9 cable, null modem, and DE-9/DB-25 converter should also do the trick.

DE-9/DB-25 null modem cable.
I will be hooking this printer up to a Raspberry Pi running Debian 10 and logging in with a non-root sudo user. This should be easily adaptable for other Linux distributions or even MacOS with minimal changes.
After plugging all the cables together between the printer and the computer, there should be a new device in /dev:
$ ls /dev/ttyUSB*
/dev/ttyUSB0
Now that we see our device, the permissions for ttyUSB0 need to be updated so it can be used by a non-root user:
$ sudo chmod 666 /dev/ttyUSB0
This will have to be done every time we reinsert the device, so the following commands can be used to add the current user to the dialout group (though this will require a restart):
$ sudo usermod -a -G dialout $USER
$ sudo reboot
Now, the terminal I/O characteristics can be changed for the device using the stty utility:
$ stty -F /dev/ttyUSB0 9600 cs8 -cstopb -parenb
This will set bitrate to 9600bps, character size to eight bits, stop bits to two per character, and a parity bit in the output while expecting a parity bit in the input.
Finally we can print! Because of the wonderful Unix feature that everything is a file, we can write directly to the printer.

As a test, echo directly to the device and it will print:
$ echo "Hello world!" > /dev/ttyUSB0

Testing the printer.
To log IRC messages directly to the printer, the easiest thing to do is set ttyUSB0 as the destination for the log file. If you use irssi it can be done like this:
$ nano ~/.irssi/config
...
"fe-common/core" = {
    autolog = "yes";
    autolog_path = "/dev/ttyUSB0";
};
That’s all there is to it! If you want to do more with the printer, there are libraries out there like python-escpos, escpos-php and node-escpos which allow you to do many more complex things.