Running a Dedicated Quake III Arena Server for Dreamcast
A few years back I built a DreamPi setup so I could play my online-capable Sega Dreamcast games using the standard dial-up adapter which negates the need to track down the expensive broadband adapter. Essentially, you can couple a cheap USB modem (modified to provide line voltage, I may write about this in the future if there is interest) with a Raspberry Pi (or any Linux-running machine, really) to bridge the connection between your dial-up-minded console and the modern Internet! The link above does a much better job explaining how to get DreamPi running than I ever could, so I advise you to check it out if you are interested.
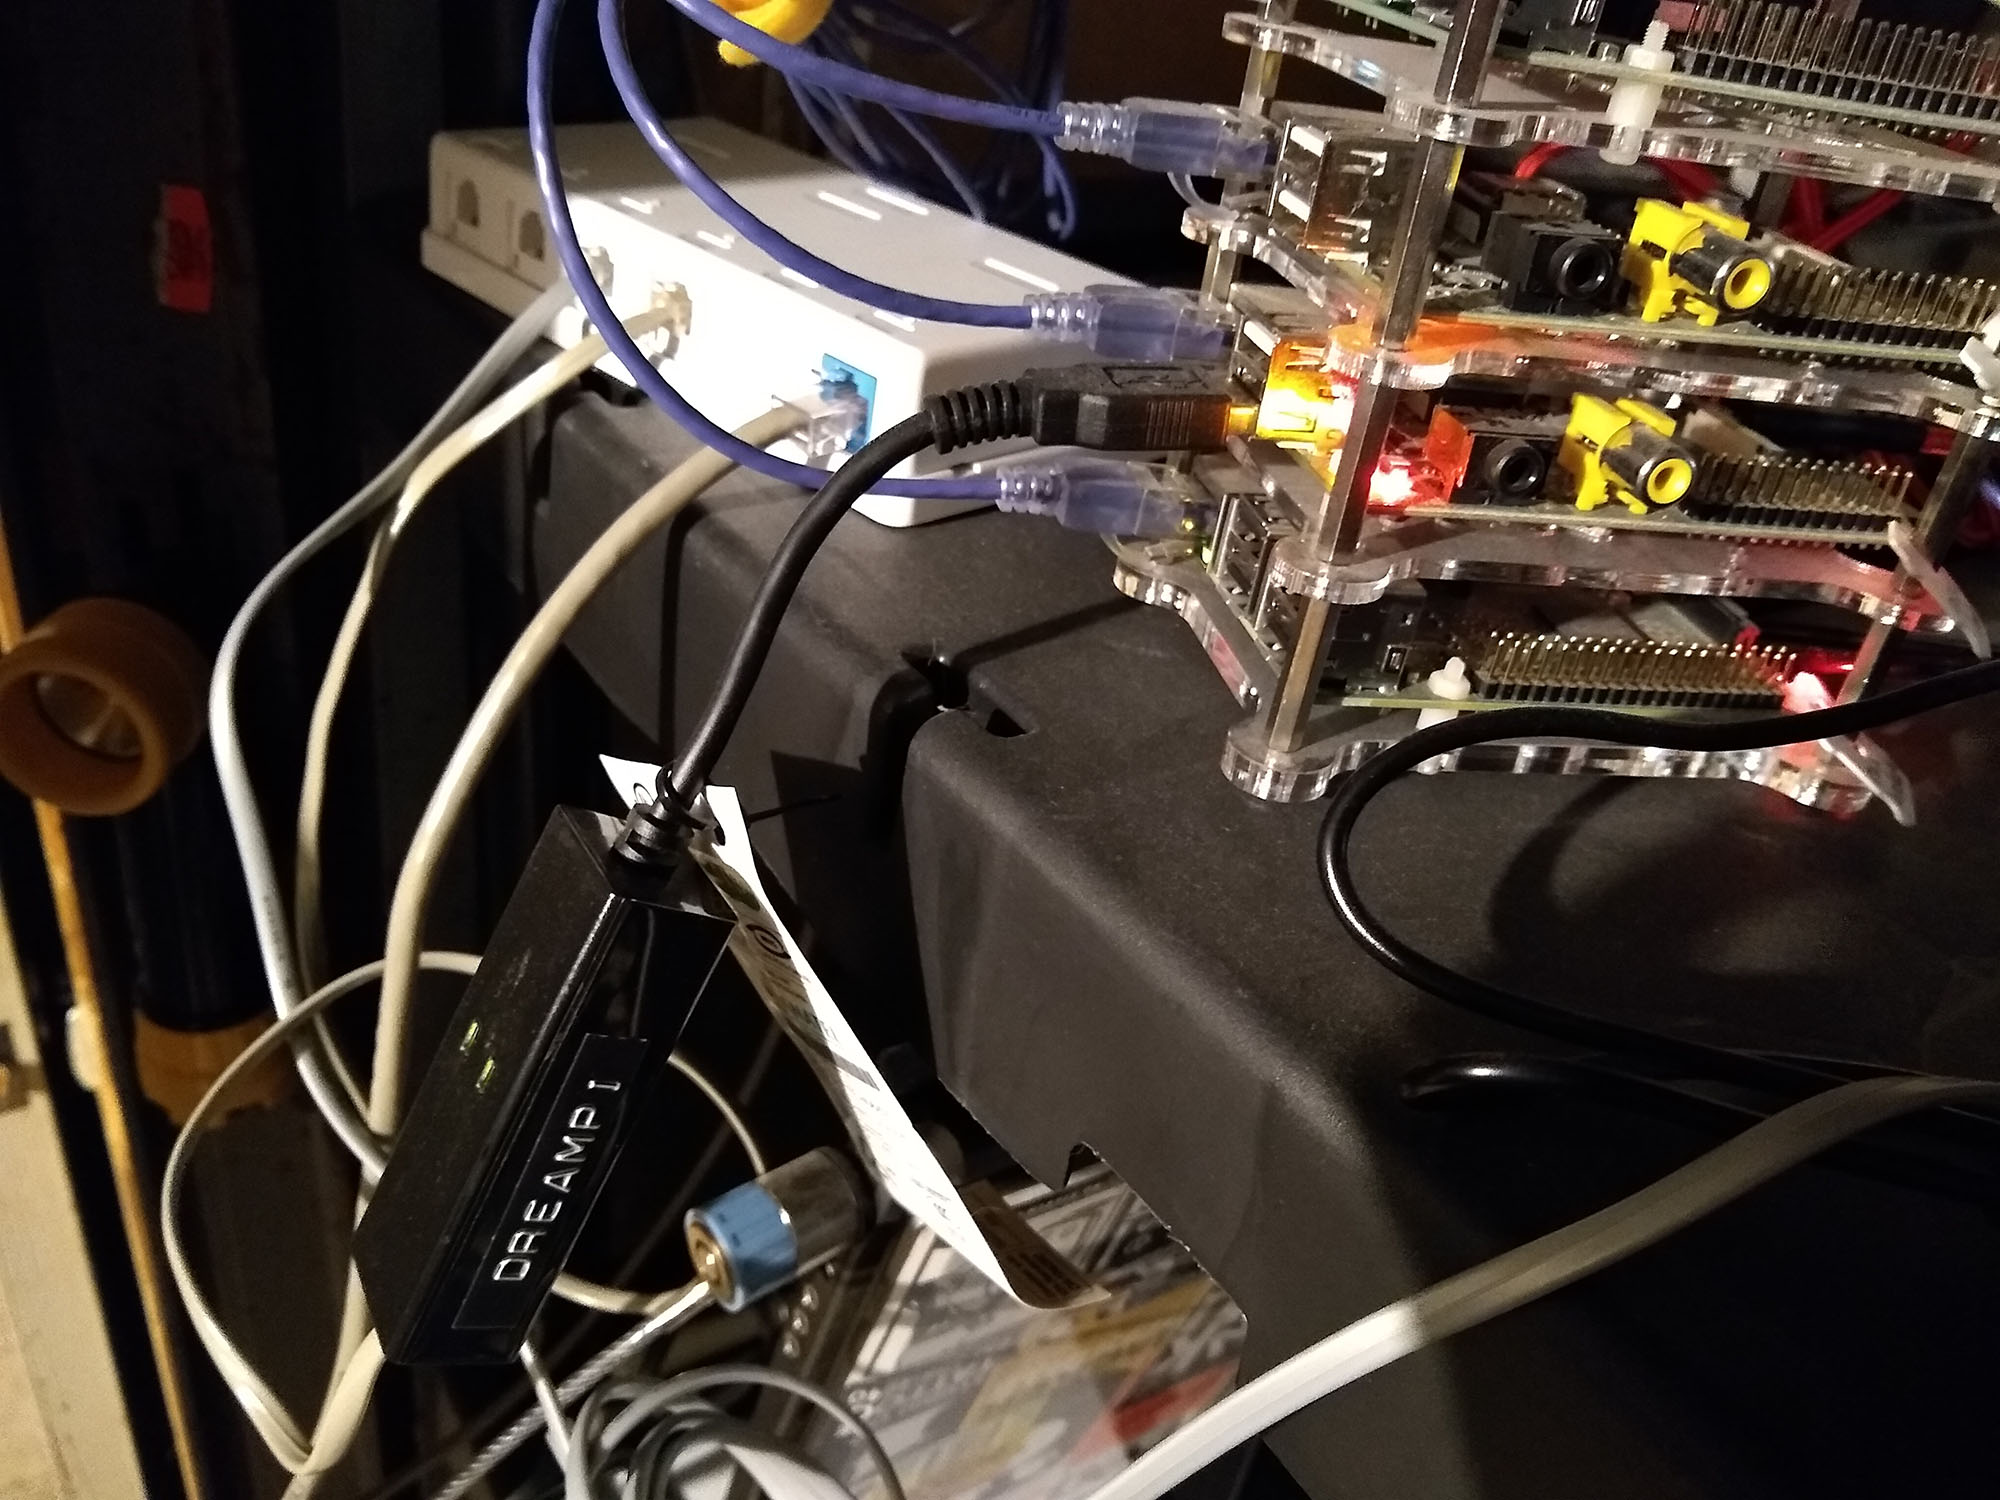
My messy DreamPi setup.
I’m (strangely) lucky enough to know someone with the same setup and we both have Quake III Arena which offers online support. Quake III Arena only allows online play through dedicated servers (meaning no console can host the match) and while a few people do run these servers today, they are just far enough away that latency becomes an issue and gameplay suffers as a result.
So, I set out to see about running my own dedicated server in 2021.
Configuring the Server
I will be working with a modern machine running Debian 10, utilizing a non-root, sudo user. The below can likely be adapted for other distributions.
First, we will install screen to eventually keep our game session running and lib32z1-dev which will provide compatibility to run the 32-bit server software on our 64-bit machine:
$ sudo apt install lib32z1-dev screen
Now, we can download the server software. This archive comes complete with the executable, configs, and a helpful script to run everything:
$ wget https://archive.org/download/q3adc-dedserver/q3adc-dedserver_lnx_1.0.tar.gz
Unfortunately I cannot remember where I got this archive from and the original Google Drive link no longer works, so hopefully I can find the source for this and provide credit at a later date.
Next, we can extract the archive and navigate into the resulting folder:
$ tar -xzf q3adc-dedserver_lnx_1.0.tar.gz
$ cd quake3dc/
Time to edit the run script. Edit ffa_server.sh and set the basepath and serverdir variables as follows:
basepath="$HOME"
serverdir="quake3dc"
Next, edit baseq3/ffa.cfg and set the srv_hostname line to give your server a unique name on the list:
set sv_hostname "[USDC] Philly 2600 FFA"
The last necessary config that we need to do is to edit baseq3/configs/global_masterservers.cfg and change the entry for sv_master2 to the current address for the Dreamcast-Talk.com master server:
set sv_master2 "dc.dreamcast-talk.com:27950"
That is it for essential config, but feel free to go through each configuration file to see if there are any settings you with to tweak.
Now we are ready to run things, make q3ded and ffa_server.sh executable and then kick off the script:
$ chmod +x q3ded
$ chmod +x ffa_server.sh
$ ./ffa_server.sh
If all goes to plan the server should launch in a screen session and you’re free to go and join the server on your Dreamcast. To check the status of the running server, just attach to the session (then detach with CTRL-A-D):
$ screen -r
Firewall Rules
If you are running a firewall or otherwise need to port forward, make sure port 29760 is open for udp:
$ sudo cat iptables.rules | grep '29760'
-A INPUT -p udp -m udp --dport 29760 -j ACCEPT
Testing it Out
Now it is time to see if the server is actually working. Fire up Quake III Arena on the Dreamcast and check out the online server list. If all went to plan your server should be listed!
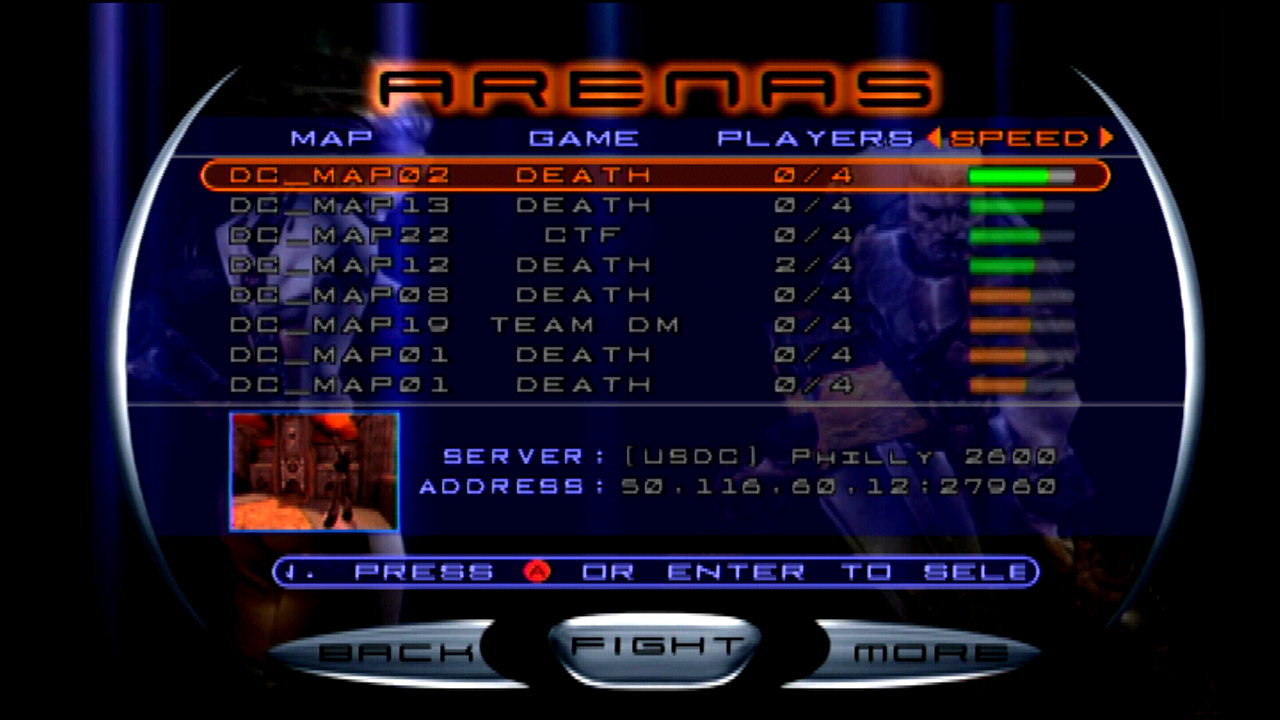
My server listed on the Dreamcast.
If you are testing and don’t want to constantly check your Dreamcast to see if the server is live, it should also be listed here.