(Re)Hacking a Boxee Box
I recently purchased an Amazon Fire TV Stick and love that it allows the ability to sideload applications like Kodi (I still hate that name, long live XBMC!) for media streaming. I mainly use Samba/SMB shares on my network for my media, with most of my content living on an old WDTV Live Hub. The WDTV Hub works great and is still pretty stable after all of these years (except for a few built-in apps like YouTube, I wish they kept going with updates), and the Fire TV will gladly chug away, playing any video over the network. However, I had the need to have my media stream to a third television and I didn’t want to uproot an existing device and carry it from room to room.
So I needed a third device. I already have a second generation Roku kicking around, but it doesn’t appear to be able to run anything other than the stock software at this time. I also considered a Raspberry Pi and wifi dongle, but this puts the price up to around $50 (which is more than the Fire TV Stick. I do want something cheap). I looked for a less expensive option with older media streamers and found a lot of information about the Boxee Box appliance put out by D-Link in 2008, discontinued in 2011. I first encountered this box in around 2012 when I was tasked to do some reverse engineering on it, but that’s another story. In the time since, a Google TV hacking team figured out they could do simple shell command injection when setting the Box’s host name, which eventually evolved into a group developing Boxee+Hacks, a replacement operating system. Since Boxee+Hacks, other developers have been working on a port of Kodi which you can install onto the Boxee to give you more options and better compatibility over the operating system’s built in features.
After some eBaying, I was able to get a Boxee for around $15, shipping included (Make sure you get model DSM-380!). The item description said that the box already had Boxee+Hacks installed and upgraded to the latest version, so I figured I was on my way to a quick installation of Kodi and could get up and running in minutes.
When I first booted the Boxee and checked out the Boxee+Hacks settings, I noticed that the device only had version 1.4 installed while the latest available was 1.6. The built-in updater did not work anymore, so the box never reported that there was an available Boxee+Hacks update.Navigating the Boxee+Hacks forums was a little cumbersome, but I eventually found the steps I needed to get updated and launch Kodi. I’ve outlined them below to help any other lost travelers out there.
First, though, go through your Boxee settings and clear any thumbnail caches, local file databases, etc. We need all the free space we can get and there will be installation errors if you don’t have enough free space. The installation script we will run later automatically clears the device’s temp directory, but doesn’t remove these cached files.
On the Boxee, go to Settings » Network » Servers and enable Windows file sharing.
If you already have Boxee+Hacks, connect the box and your computer to your home network and check the IP address for the box on either the Boxee’s settings page or by checking for a new device on your router’s console.
To make things really easy, telnet to your Boxee on port 2323 using your box’s IP address (Mine is 192.168.1.100).
telnet 192.168.1.100 2323
Once there, we need to download and run the installer script.
curl -L http://tinyurl.com/boxeehacks | sh
If you DO NOT have Boxee+Hacks installed already, never fear. On the same Settings » Network » Servers page on your Boxee, locate the Hostname filed and enter the following into it.
boxeebox;sh -c 'curl -L tinyurl.com/boxeehacks | sh'
Then, navigate away from the Settings page.
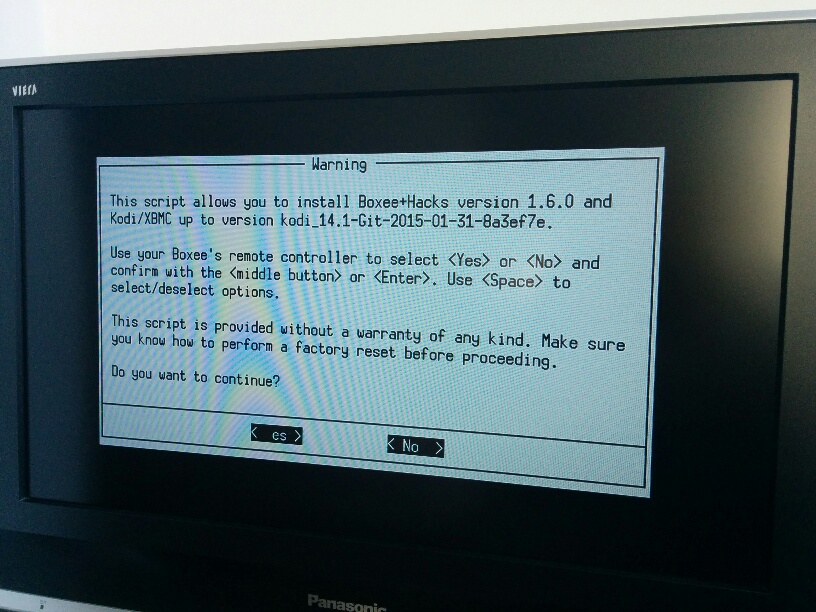
After executing the command through telnet, or through the Boxee settings page, the logo should glow red on the front of the box and you should receive on-screen instructions to perform an installation.

Boxee+Hacks installation screen, from boxeed.in forums.
The installation guide works pretty well. Here, you will be prompted to install Kodi in addition to Boxee+Hacks. At this point I chose NOT to install Kodi. From what I read, once you install it though the script, it can be difficult to remove, and I didn’t want to deal with the possibilities of a difficult upgrade.
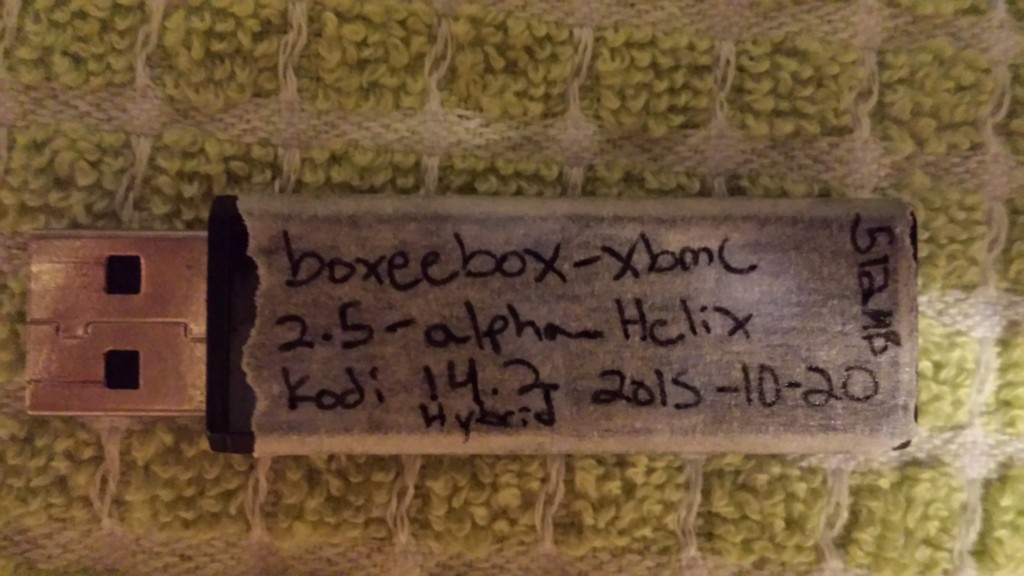
Instead, I decided to install Kodi on a flash drive. I’ve had a cheap 512MB drive that has been kicking around for close to ten years, and it is perfect for fitting Kodi. To setup the flash drive, I formatted it as FAT32 and labeled the drive as MEDIA. I’m not sure if either of these matter, but this configuration worked for me. I downloaded the latest Kodi release built for Boxee from the boxeebox-xbmc repository (Version KODI_14.2-Git-2015-10-20-880982d-hybrid at the time of this writing) and unzipped it onto my flash drive. Make sure that the all of the Kodi files are in the root directory of the drive, and not within the KODI_14.2-Git-2015-10-20-880982d-hybrid directory you get from extracting the archive.

It might also help to label the drive.
That’s all there is to it, just plug the flash drive into the back of the Boxee and it is good to go. If you leave the flash drive in, whenever you boot the Boxee it will go right into Kodi. Leave it out and it will boot to standard Boxee+Hacks. If you boot into Boxee+Hacks and then want to load up Kodi, just plug in the flash drive and it loads automatically.
This turns a seemingly unassuming and thought-obsolete device into a pretty powerful media center, and is a quick inexpensive solution to streaming your content to yet another television.